
— Blogs —
—Products—
 Consumer hotline +8618073152920
 WhatsApp:+8615367865107
Address:Room 102, District D, Houhu Industrial Park, Yuelu District, Changsha City, Hunan Province, China
Technical Support
Time:2025-04-25 15:50:56 Popularity:2739
The process of integrating with the akenza.io platform via the MQTT protocol requires completing steps such as device configuration, data flow creation, device registration, and code implementation. Below is a detailed guide, based on the official akenza documentation and the features of the MQTT protocol, explaining how to achieve the integration step by step.

- Visit the registration page at https://akenza.io and create an account. If you already have an account, log in directly.
- After logging in, you will be directed to the akenza platform dashboard.
- The akenza platform supports MQTT protocol and uses Eclipse Mosquitto as the MQTT broker. The platform acts as the broker, and devices act as MQTT clients.
A data flow defines how devices communicate with the akenza platform via MQTT.
- In the akenza dashboard, click on "Data Flow" in the left menu.
- Click the "Create Data Flow" button.

- In the connection type, select "Connect a device over MQTT".
- Device Type: Select "Passthrough" to receive raw data formats (JSON format is recommended).
- Output Connector: Choose the storage destination for the data, such as the akenza DB (default database) or other supported connectors like InfluxDB or Webhook.

- After creating the data flow, the system will automatically generate a secret (key) for device authentication.
- Record this secret, as it will be used in the MQTT topic structure and device connection.
- After confirming your settings, click "Create" to save the data flow.
- In the left menu, click "Workspace".
- Click the "Create Device" button.

- Device Name: Name your device, e.g., "Weather sensor" or "Soil sensor".
- Description (optional): Add a description for the device.
- Tags/Custom Fields (optional): Add tags or custom fields for categorization.
- Data Flow: Select the MQTT data flow created in the previous step.

- Click "Generate ID" to generate a unique ID for the device.

- Click "Create Device" to complete the device registration.
- After registration, find the device in the Devices menu and click to enter the device details page.

- In the device details page under the "API-Configuration" tab, get the following information:
- MQTT Broker Host: Typically mqtt.akenza.io.
- MQTT Username: Username.
- MQTT Password: Password.
- Uplink Topic: /up/{secret}/id/{deviceId}.
- Downlink Topic (optional): /down/{secret}/id/{deviceId}.

Using a device such as the Niubol sensor or another MQTT-capable device, configure it to connect to the akenza MQTT broker. The following instructions assume you're using the Niubol data collector.

- In the akenza platform's Workspace, find your device and go to its device details page.
- Under the "Message Logs" tab, view the uplink data sent by the device.
- The data should appear in JSON format, e.g., {"sensor":"temperature","value":25.5}.

- In the Dashboard Builder tab, view the device's KPIs and historical data charts.
- If a downlink topic is configured, you can test sending commands to the device.

For enhanced security, it is recommended to use TLS encryption:
1. Use port 8883 instead of 1883 for encrypted communication.

- akenza supports two authentication methods:
- Uplink Secrets: Use a shared key as the MQTT password.
- JWT: Use the device's private key to generate a JWT as the password (more secure, requires additional configuration).
- Choose the authentication type when creating the data flow.
- Uplink Topic format: /up/{secret}/id/{deviceId}.
- Downlink Topic format: /down/{secret}/id/{deviceId}.
- Ensure the topics match the device configuration.
- If the connection fails, check:
- Ensure the MQTT username, password, and topic are correct.
- Verify the network connection is stable (Wi-Fi or cellular network).
- Ensure that the ports are not blocked by a firewall (1883 or 8883).
- Use a serial monitor or logs to view error codes.
- akenza accepts JSON formatted MQTT messages, so make sure the data sent by the device is in the correct format.
- akenza Official Documentation: MQTT Connectivity:
https://docs.akenza.io/akenza.io/get-started/your-data-flow/device-connector/mqtt
- Tutorial: How to integrate an Arduino device via MQTT on akenza:
https://docs.akenza.io/akenza.io/tutorials/add-devices/how-to-integrate-an-arduino-device-via-mqtt-on-akenza
Prev:How to Connect NiuBoL Sensor to Thinger IoT Platform via MQTT Protocol
Next:Multi-Parameter Handheld Tester: Computer Software Operation Instructions
Related recommendations
Sensors & Weather Stations Catalog
 Agriculture Sensors and Weather Stations Catalog-NiuBoL.pdf
Weather Stations Catalog-NiuBoL.pdf
Agriculture Sensors Catalog-NiuBoL.pdf
Water Quality Sensor Catalog-NiuBoL.pdf
Related products
 Combined air temperature and relative humidity sensor
 Soil Moisture Temperature sensor for irrigation|NBL-S-THR
 Soil pH sensor RS485 soil Testing instrument soil ph meter for agriculture |NBL-S-PH
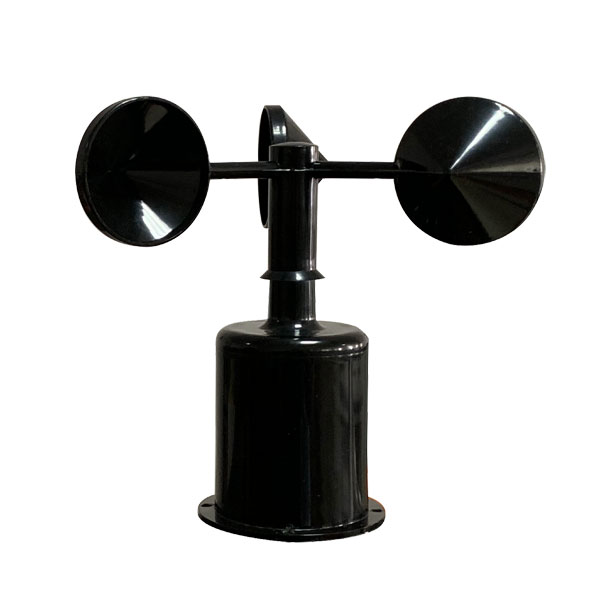 Wind Speed sensor Output Modbus/RS485/Analog/0-5V/4-20mA
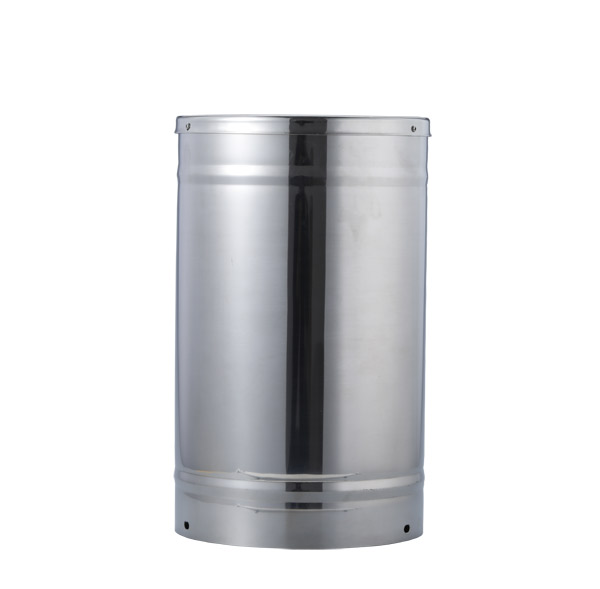 Tipping bucket rain gauge for weather monitoring auto rainfall sensor RS485/Outdoor/stainless steel
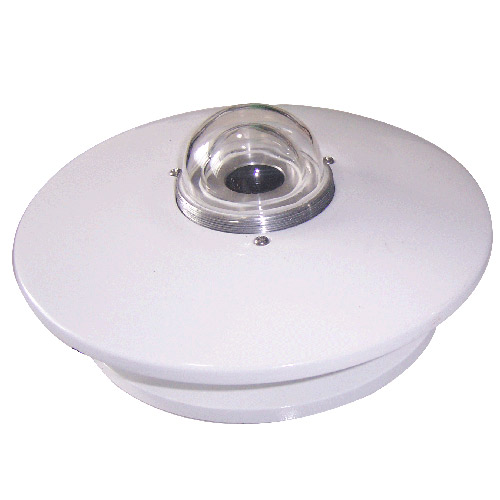 Pyranometer Solar Radiation Sensor 4-20mA/RS485

Screenshot, WhatsApp to identify the QR code
WhatsApp number:+8615367865107
(Click on WhatsApp to copy and add friends)
