
— Blogs —
—Products—
 Consumer hotline +8618073152920
 WhatsApp:+8615367865107
Address:Room 102, District D, Houhu Industrial Park, Yuelu District, Changsha City, Hunan Province, China
Technical Support
Time:2026-01-07 11:01:15 Popularity:1323
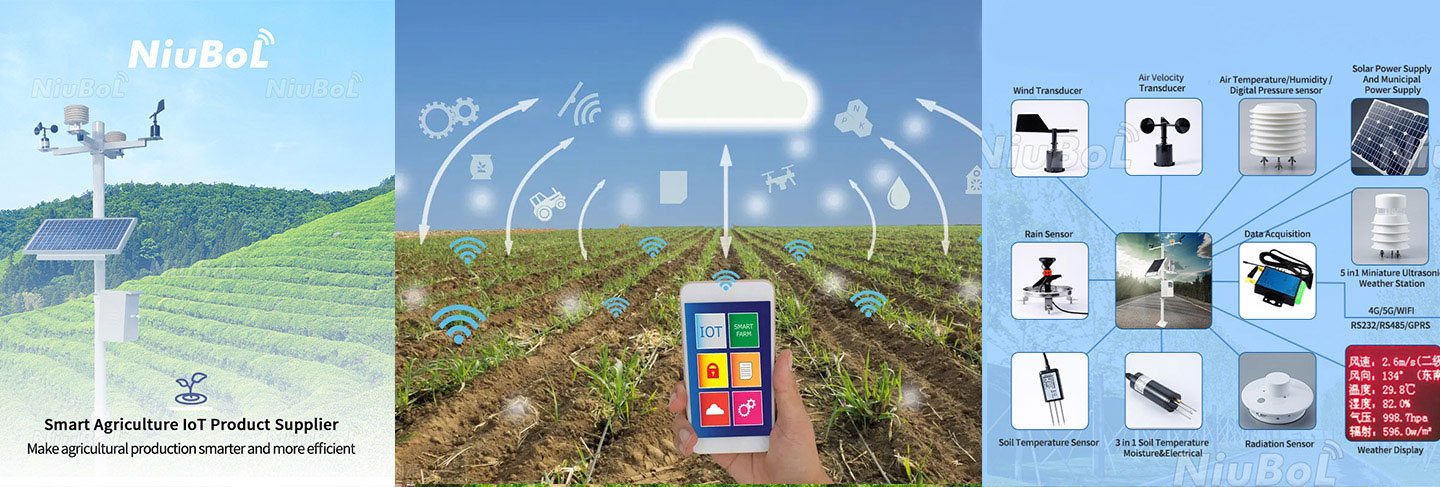
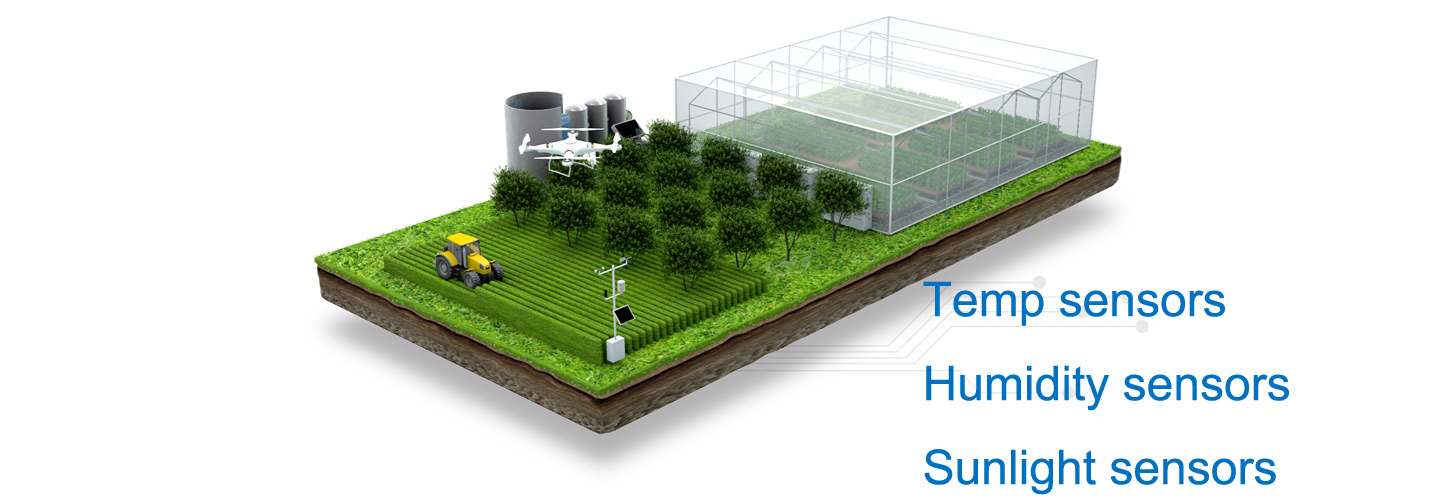
In the wave of digital meteorological monitoring, automatic weather stations have become indispensable “eyes” in agriculture, water conservancy, forestry, and research fields. They can capture core elements such as temperature, humidity, light, wind, rainfall, and air pressure in the environment 24/7. However, the data accuracy of a precise meteorological equipment set depends not only on the sensor precision itself but also on standardized and scientific installation processes.
As a deep-rooted brand in environmental monitoring, NiuBoL always emphasizes “installation is data.” Improper installation may lead to wind direction offset, underestimated rainfall, or shortened sensor lifespan. Today, NiuBoL will thoroughly break down the installation steps and precautions for NiuBoL automatic weather stations, helping you build a stable and reliable meteorological observation base station.
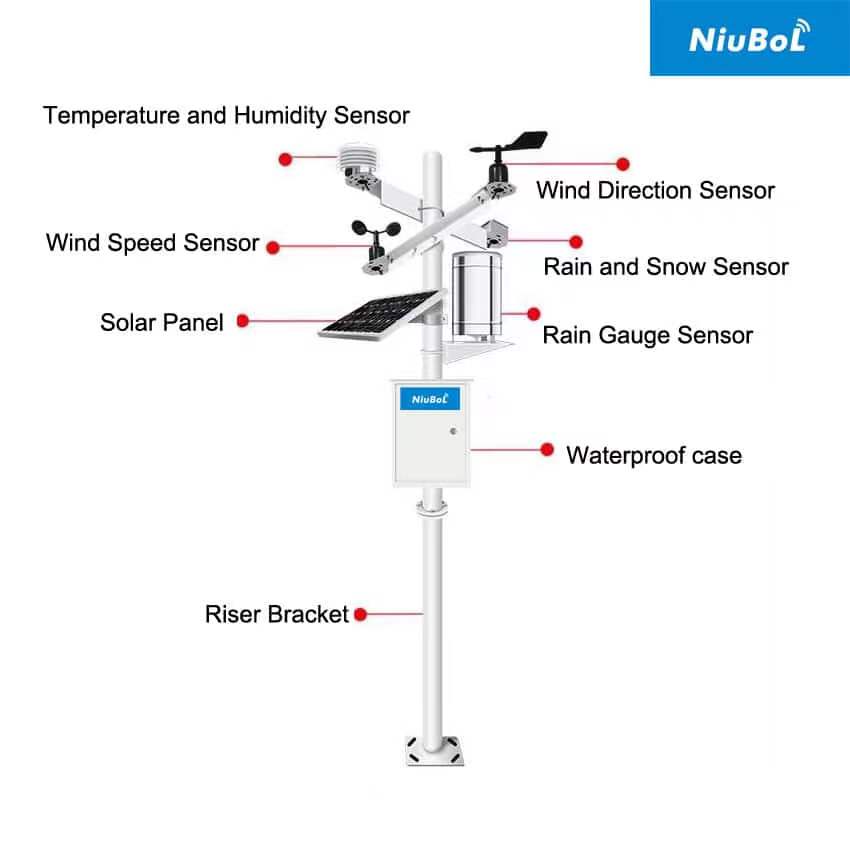
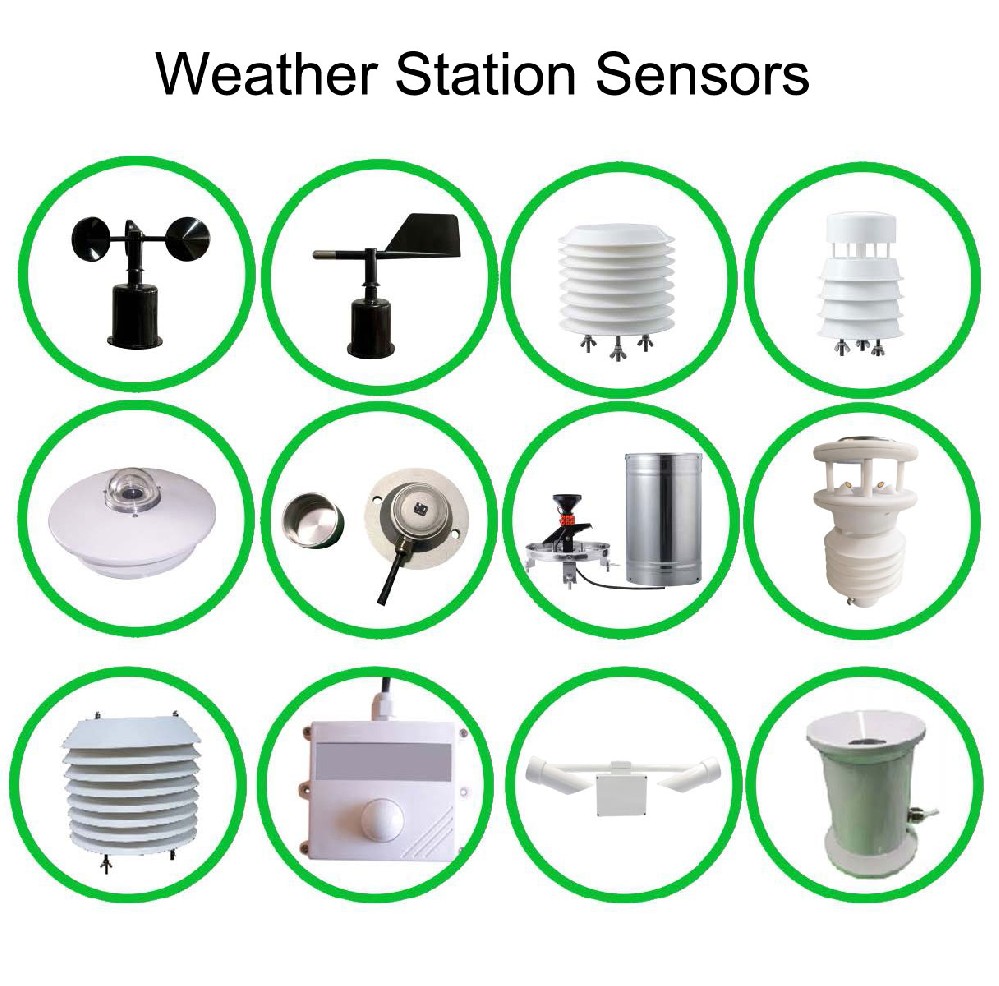
Before diving into the installation process, we need to understand the core components of automatic weather stations—the various sensors. They each perform their duties, collectively forming the perception network for environmental monitoring.
Temperature and Humidity Sensor: Typically placed in louver boxes to prevent interference from direct sunlight and ground reflection, real-time monitoring atmospheric warmth and dryness.
Light/Total Radiation Sensor: Monitors light intensity (Lux) or solar radiation energy. Installation requires level sensor and no surrounding shadows.
Wind Speed and Direction Sensor:
Wind Speed Sensor: Senses wind rate via cup or ultrasonic principles.
Wind Direction Sensor: Monitors wind source direction. Must align north using compass during installation (N position to north).
Rainfall Sensor (Rain Gauge): Common tipping bucket structure. Collects precipitation through rain receiver; tips once per certain amount (e.g., 0.2mm) and outputs pulse signal.
Atmospheric Pressure Sensor: Precisely senses subtle air pressure changes, often used for weather trend prediction and pressure compensation.

Installing a weather station is a systematic project; it is recommended to proceed in the following six major steps.
2.1 Pre-Installation Inventory and Logistics Check
Automatic weather stations are precision instruments, usually shipped via logistics.
Package Verification: Upon receipt, first check outer packaging for damage or deformation.
Component Inventory: Refer to shipping list to count sensors, collector, bracket, ground cage, solar panel, battery, and cables. Avoid forcing installation if components are missing or visibly damaged to prevent later debugging issues.
2.2 Foundation Solidification: Ground Cage Embedding and Base Construction
The ground cage is the “foundation” of the weather station, directly determining survival in severe weather (e.g., strong winds, heavy rain).
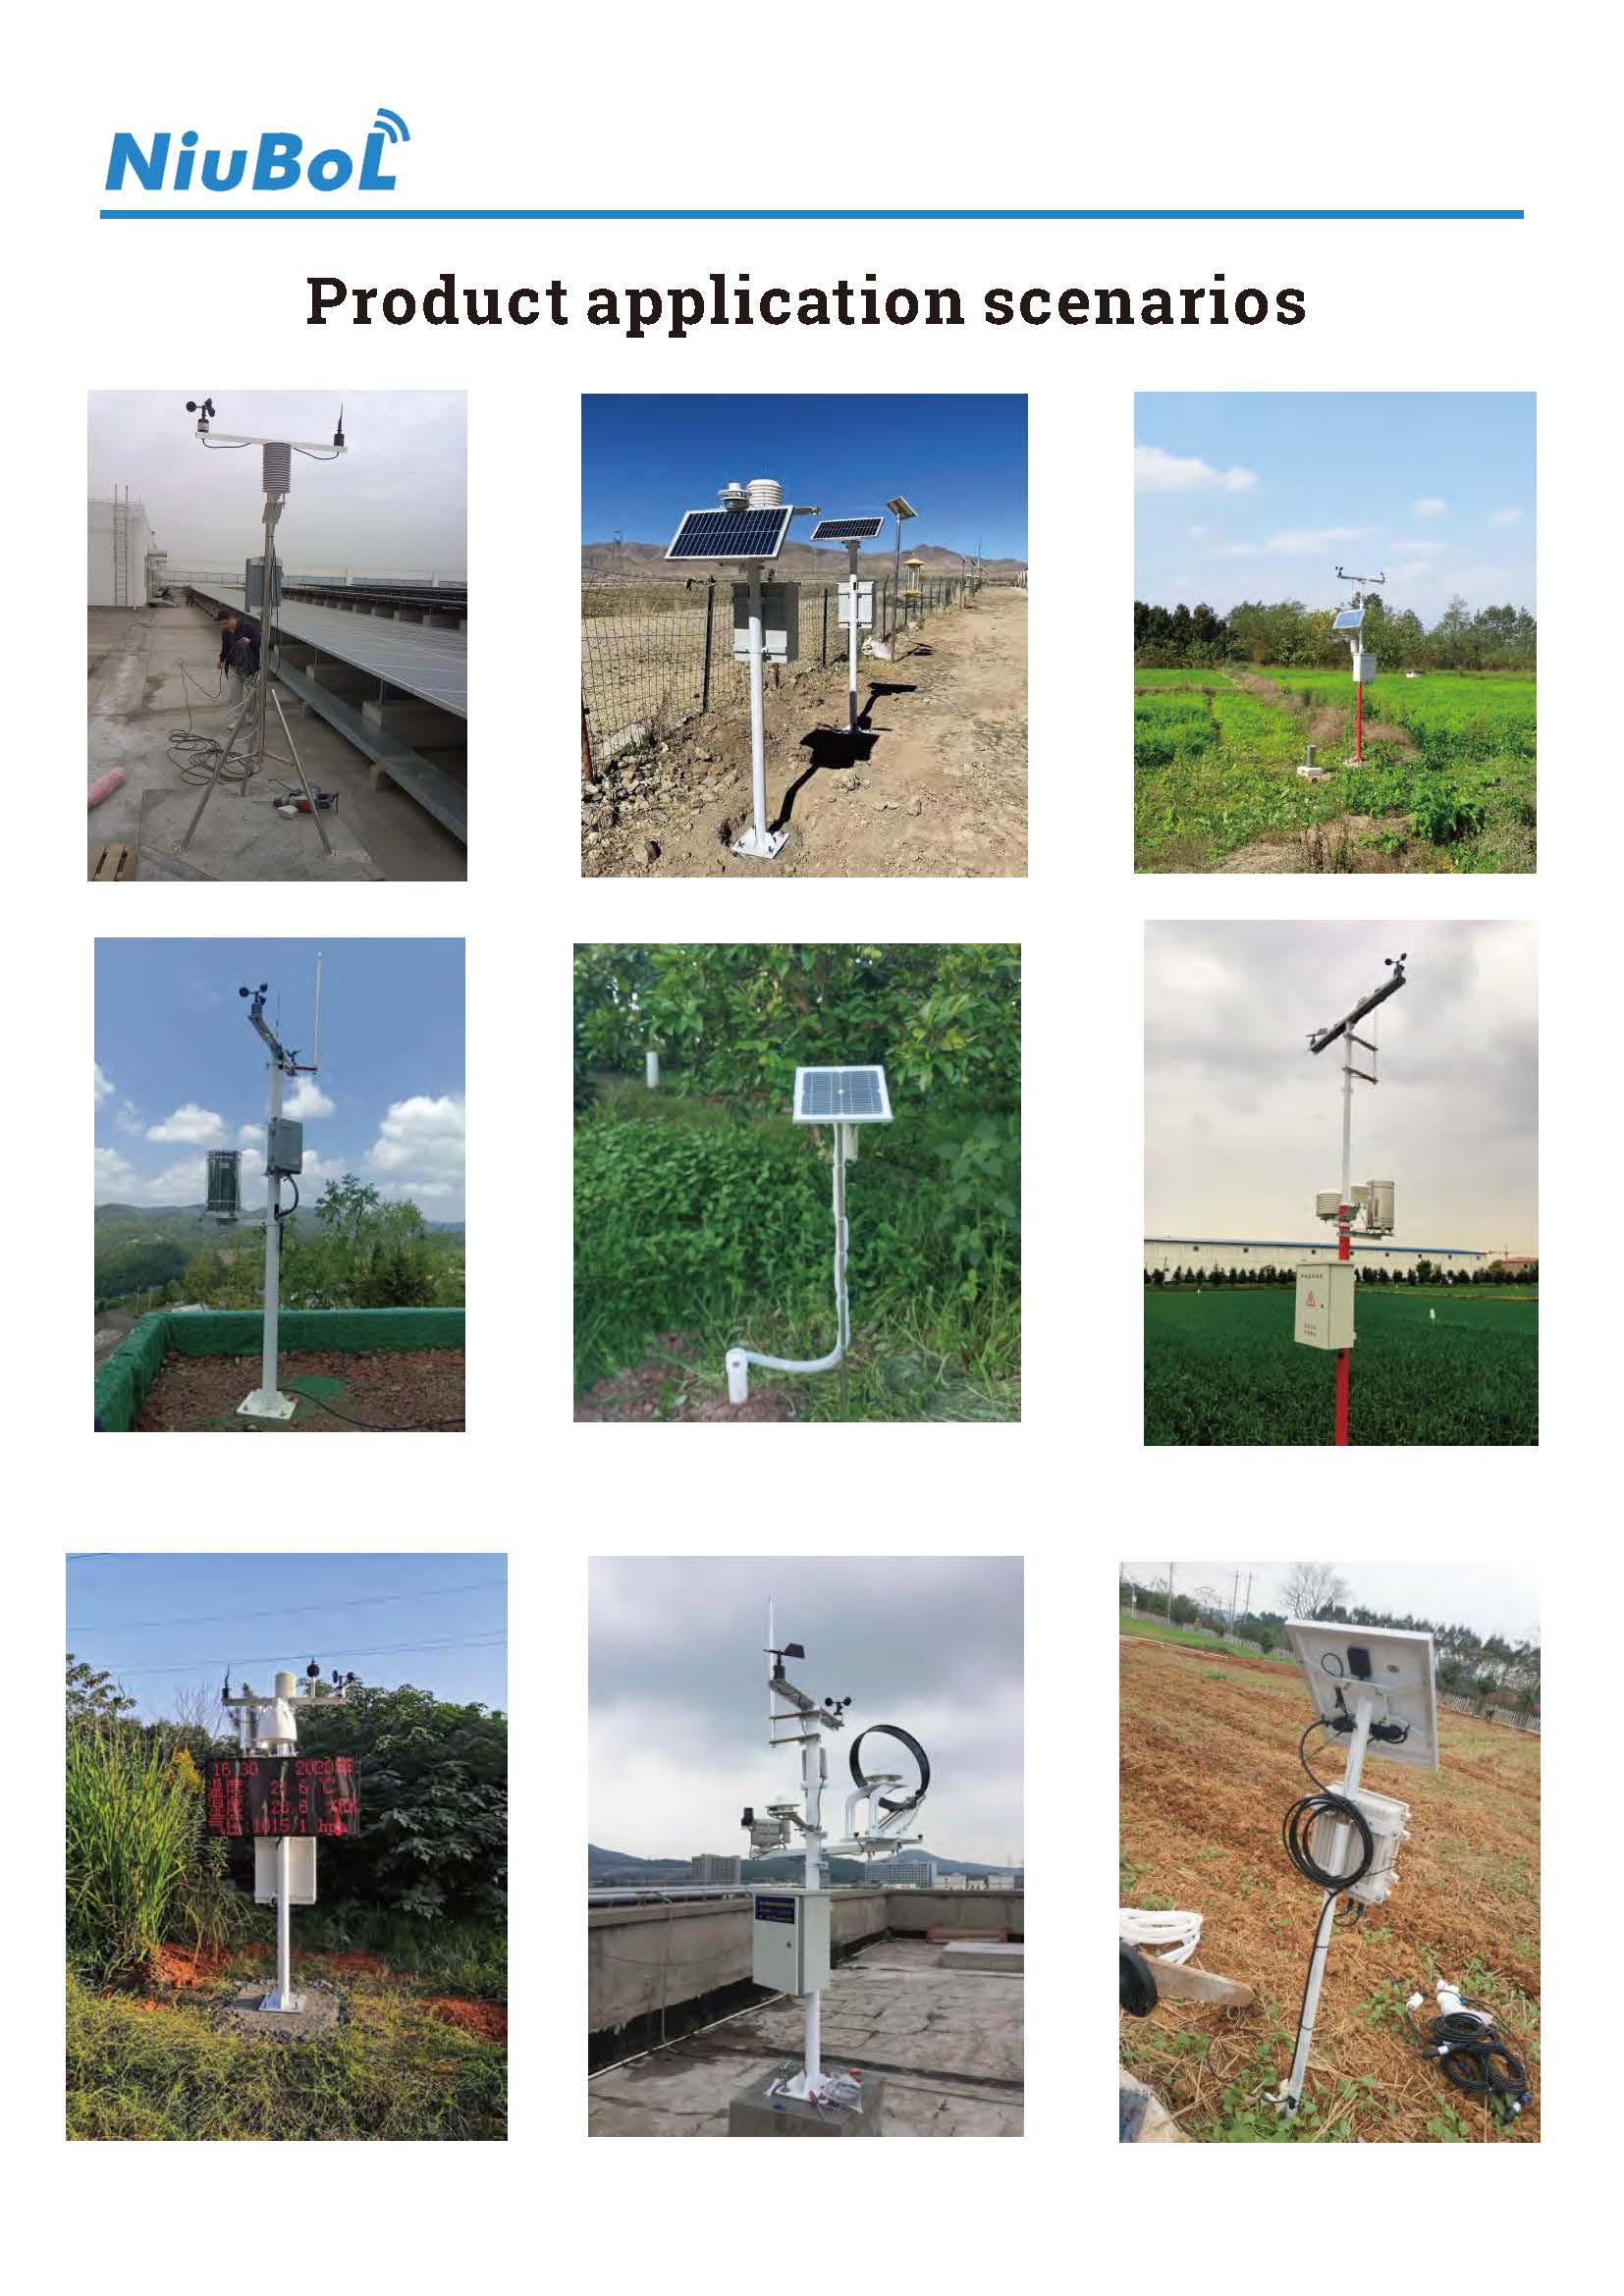
Site Selection: Choose open areas without tall buildings or trees blocking.
Excavation and Placement: Dig standard pit, place ground cage inside.
Level Calibration: Use level to calibrate ground cage flange surface.
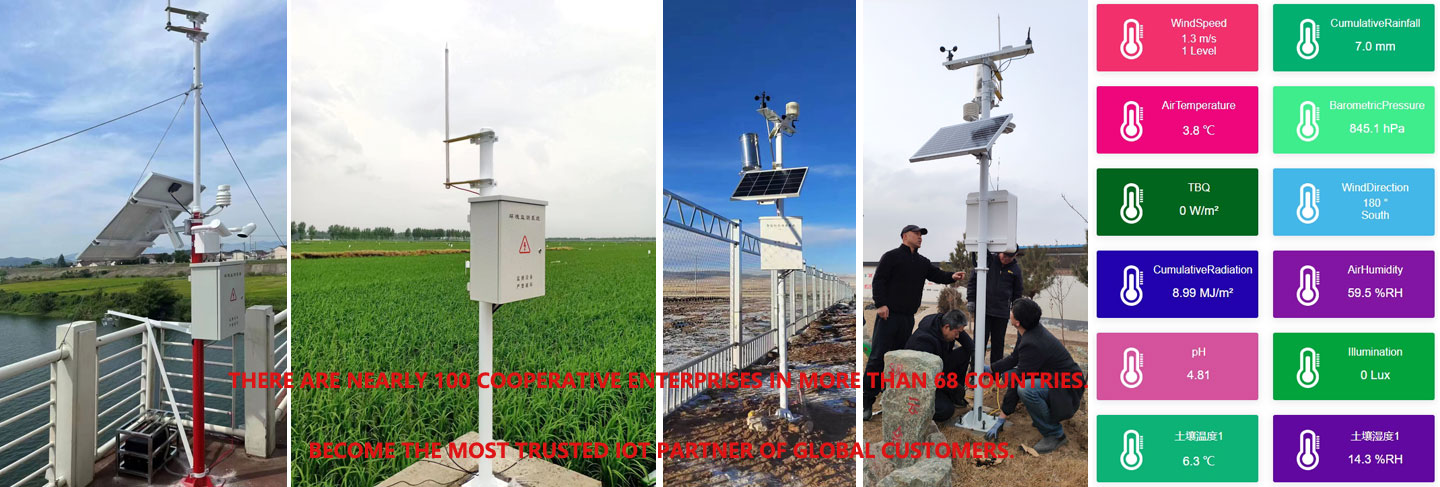
Concrete Solidification: Pour concrete; proceed with bracket installation only after full solidification. Stable foundation prevents bracket shake affecting wind speed data.

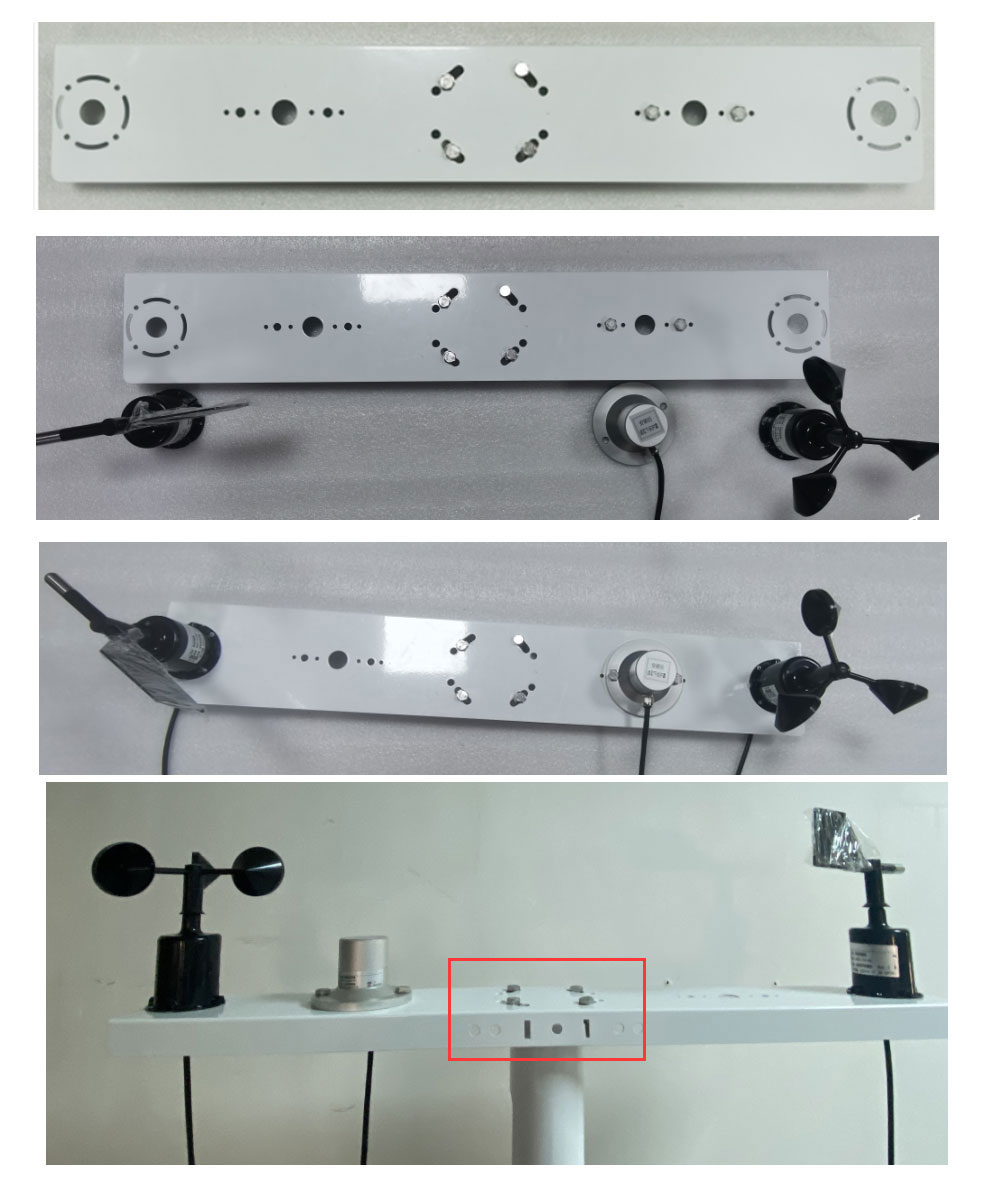
2.3 Structure Assembly: Building the Meteorological Bracket
The bracket is the “skeleton” carrying all core loads.
Connect Ground Cage: Dock bracket base with ground cage bolts, secure with four high-strength screws.
Module Distribution: Upper bracket reserves cross-arm positions for sensors; middle typically places collection box.
2.4 Sensing Deployment: Fine Sensor Installation
Once bracket is stable, install sensors based on monitoring needs.
Height Standard: Wind speed/direction usually at bracket top; rain gauge on bottom fixed platform or independent pole.
North Alignment: Critical installation point. Use compass to precisely point wind vane north to geographic north, otherwise wind direction data meaningless.
Protection Measures: Route all sensor cables through threading holes into bracket or secure with ties to prevent loose connectors from cable swing.
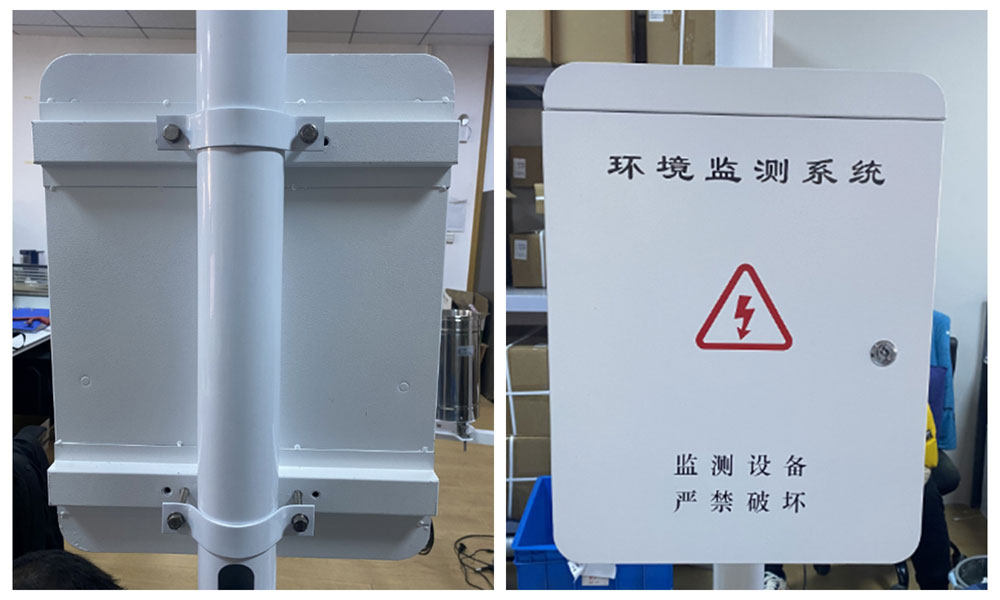
2.5 Hub Integration: Collector (Data Logger) and Transmission Module Installation
The collector is the “brain” of the weather station.
Wiring Docking: Connect sensor cables to collector per interface labels. NiuBoL uses foolproof interfaces for accurate wiring.
Network Connection: Install transmission modules (e.g., 4G module, LoRaWAN antenna). Ensure antenna vertical upward for optimal wireless signal.
Data Path: Collector gathers analog/digital signals, processes via built-in algorithms, then transmits wirelessly to backend computer or mobile App.
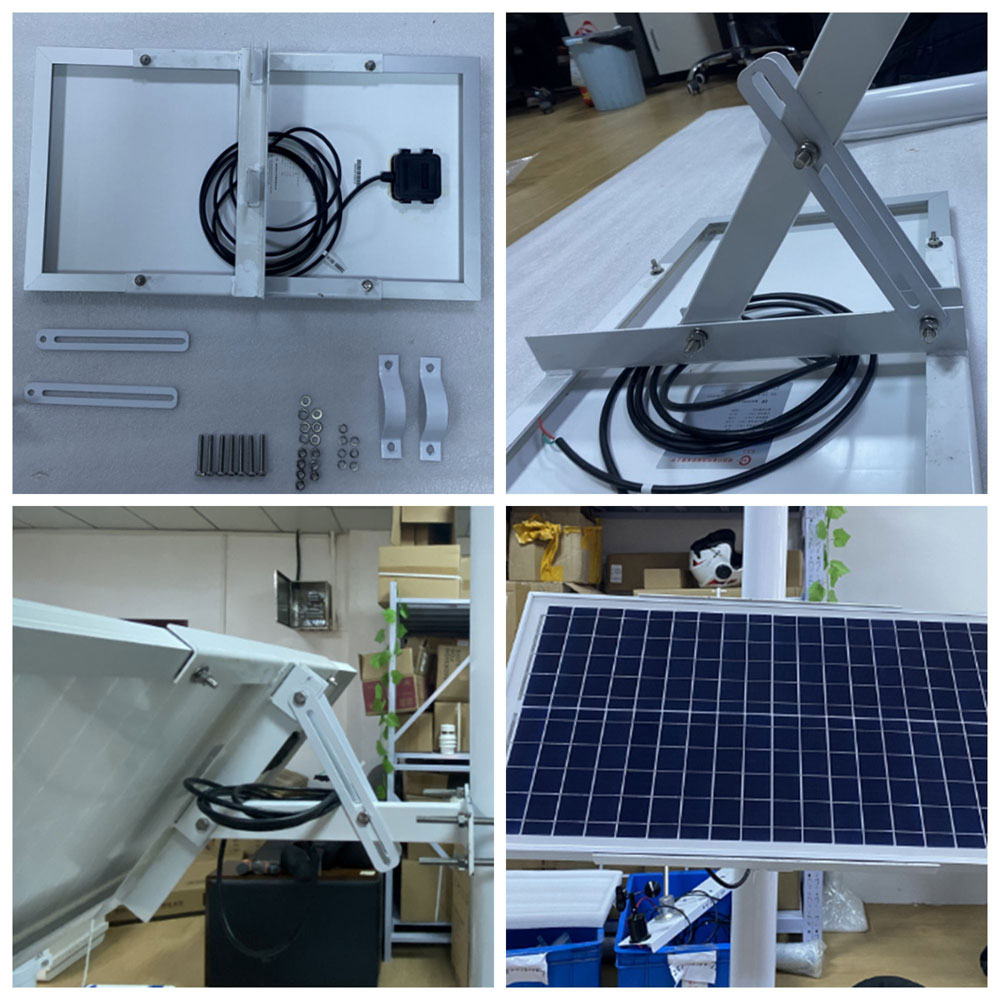
2.6 Energy Supply: Solar Panel and Battery Configuration
Solar Panel: Install on bracket top or side; face south (Northern Hemisphere), adjust elevation per local latitude for maximum direct sunlight.
Battery Management: Usually placed at protective box bottom. Solar panel charges battery via controller; battery sustains 12V DC output during rain or night.
Hardware installation completion does not end the process; final software integration ensures system closed-loop.
Power-On Detection: Connect main power switch, observe collector indicator lights.
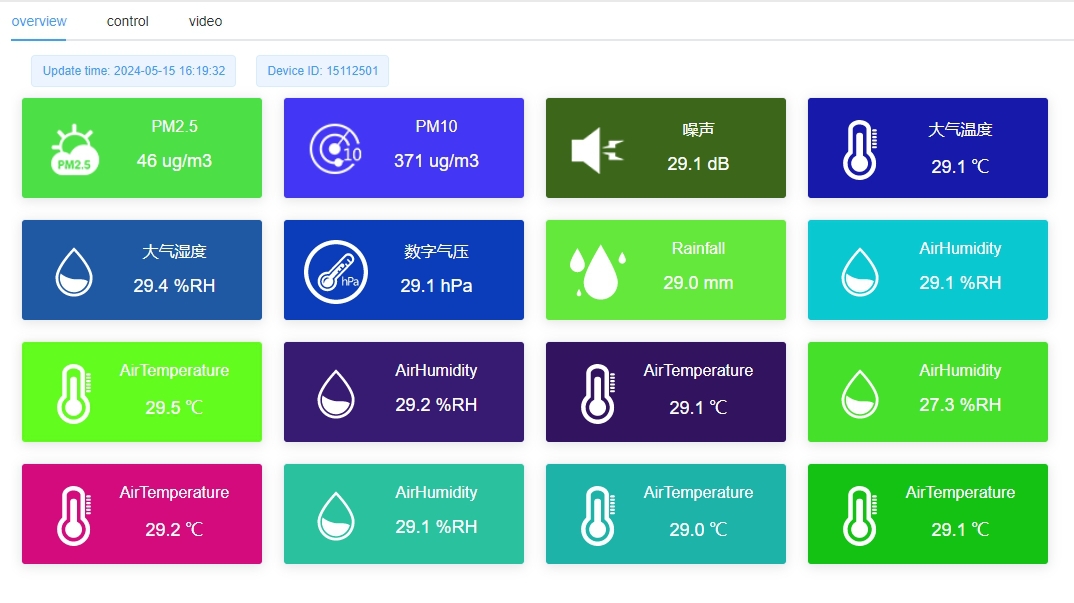
Real-Time Calibration: Open backend software, compare real-time readings—e.g., check if temperature/humidity matches sensation, wind speed jumps when anemometer moved.
Upload Interval Setting: Set data upload intervals (usually 1-10 minutes) based on bandwidth and power needs.
Stress Testing: Observe 24-hour operation for data continuity; confirm no packet loss or anomalies before declaring installation complete.
To extend equipment life and reduce errors, NiuBoL summarizes the following practical tips:
Lightning Protection: Weather stations in fields are often highest points. Must install lightning rod, ensuring connection with bracket, ground cage, and earth (ground resistance typically<4Ω).
Waterproof Sealing: After fastening wiring boxes/interfaces, recommend secondary sealing with waterproof tape or silicone to prevent rainwater ingress causing shorts.
Rain Gauge Level: Internal sensitive tipping bucket requires level shell and clear bottom drain hole.
Anti-Corrosion Check: For coastal or chemical areas, apply anti-rust grease at screw connections to prevent salt fog corrosion hindering future disassembly.

| Question | Answer |
|---|---|
| Q1: Must weather station installation use concrete foundation? | A: For long-term stations, concrete foundation is essential. For temporary mobile monitoring, use weighted base or guy ropes, but stability and data accuracy may decline. |
| Q2: Can sensor installation order be arbitrary? | A: Recommend strict adherence to manual order and positions. E.g., wind speed at top to avoid interference from bracket or other parts. |
| Q3: Does partial solar panel shading by tree shadow matter? | A: Significantly. Solar panels have “hot spot effect”; partial shading sharply reduces overall power generation. Ensure full-day unobstructed. |
| Q4: Why does backend show rainfall always 0? | A: Check if internal fixing strap of rain gauge is removed. For transport safety, bucket is temporarily fixed; must cut during installation. |
| Q5: How to ensure sensors unaffected by lightning system during installation? | A: Highly professional and critical. Install lightning rod at bracket top; keep downlead (ground wire) physically distant from sensor signal lines, avoid parallel routing. NiuBoL sensors/collectors integrate electromagnetic shielding and surge protection; ensure ground cage-earth connection good to minimize induced lightning impact. |
| Q6: What differs in process for rooftop or greenhouse top installation? | A: Non-ground surfaces (rooftop/greenhouse top) can't use standard embedded cage. Use expansion bolts or weighted ballast. For rooftops, protect waterproof layer with rubber pads under base. Higher rooftops have stronger winds; add three-way guy ropes for anti-overturn stability. |
Automatic weather station installation is a meticulous science. From ground cage depth to solar panel angle, every detail determines subsequent data vitality. Through NiuBoL standardized processes, we not only build hardware but establish a precise window for dialoguing with nature.
Accurate meteorological data guides agricultural irrigation and buys time for disaster prevention/mitigation. Choose NiuBoL for full technical support from hardware selection to on-site installation, ensuring every meteorological dataset withstands scrutiny.
Is your weather station installed properly? For detailed Modbus communication protocol or industry-specific networking, contact NiuBoL anytime for consultation.
Technical Specifications and Parameters Reference:
Bracket Material: Full stainless steel/metal anti-corrosion paint optional
Communication Protocol: Modbus RTU / MQTT
Power System: DC 12V (solar 60W/100W + 30Ah/40Ah battery)
Protection Rating: IP65 - IP67
Installation Interface: Standard RS485 wired or 4G/5G/LoRaWAN wireless
Prev:Compact Weather Station Installation and Maintenance Guide
Next:no more
Related recommendations
Sensors & Weather Stations Catalog
 Agriculture Sensors and Weather Stations Catalog-NiuBoL.pdf
Weather Stations Catalog-NiuBoL.pdf
Agriculture Sensors Catalog-NiuBoL.pdf
Water Quality Sensor Catalog-NiuBoL.pdf
Related products
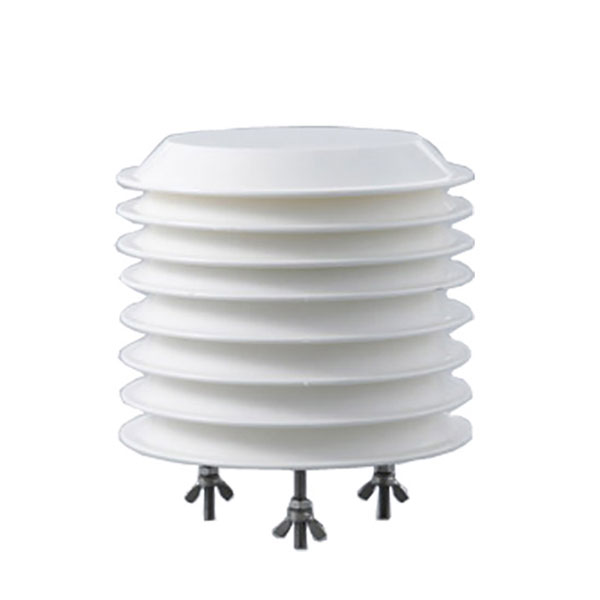 Combined air temperature and relative humidity sensor
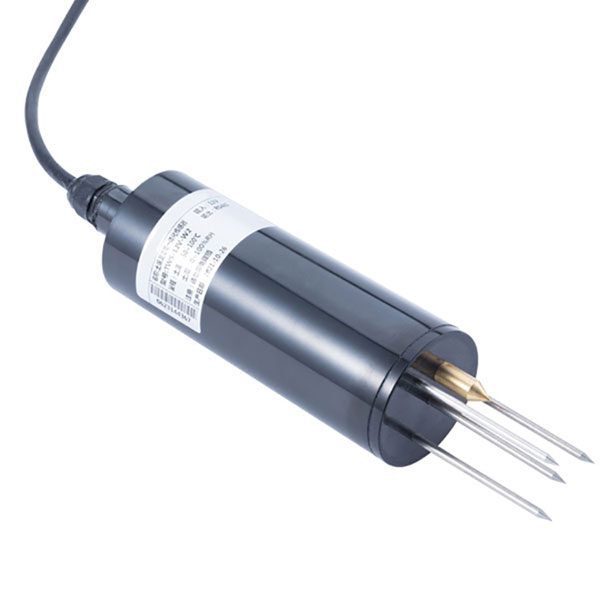 Soil Moisture Temperature sensor for irrigation|NBL-S-THR
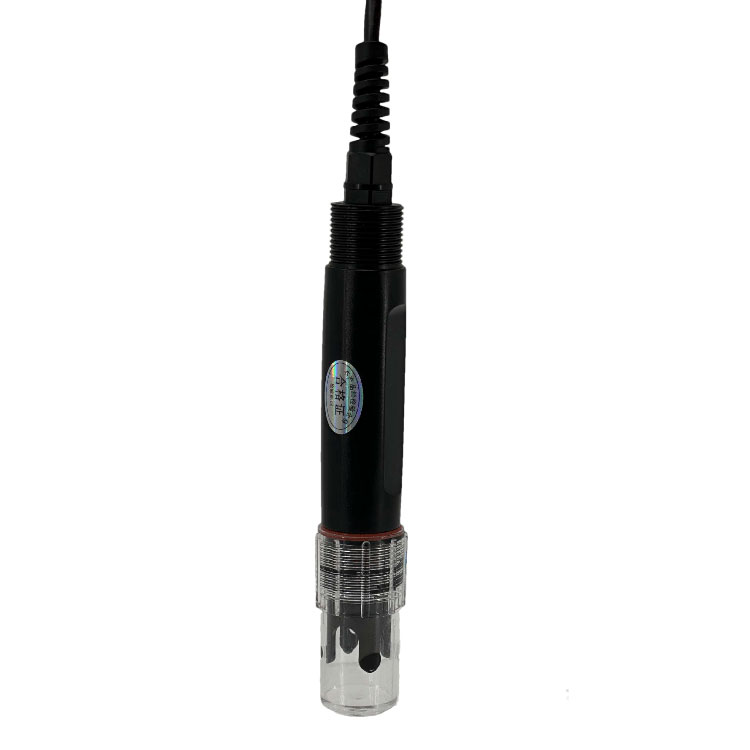 Soil pH sensor RS485 soil Testing instrument soil ph meter for agriculture |NBL-S-PH
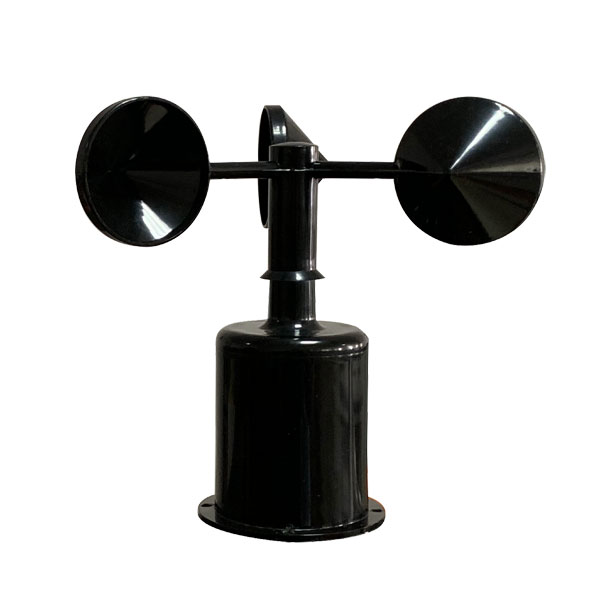 Wind Speed sensor Output Modbus/RS485/Analog/0-5V/4-20mA
 Tipping bucket rain gauge for weather monitoring auto rainfall sensor RS485/Outdoor/stainless steel
 Pyranometer Solar Radiation Sensor 4-20mA/RS485

Screenshot, WhatsApp to identify the QR code
WhatsApp number:+8615367865107
(Click on WhatsApp to copy and add friends)
