

— Blogs —
—Products—
 Consumer hotline +8618073152920
 WhatsApp:+8615367865107
Address:Room 102, District D, Houhu Industrial Park, Yuelu District, Changsha City, Hunan Province, China
Product knowledge
Time:2025-09-09 16:31:44 Popularity:1310
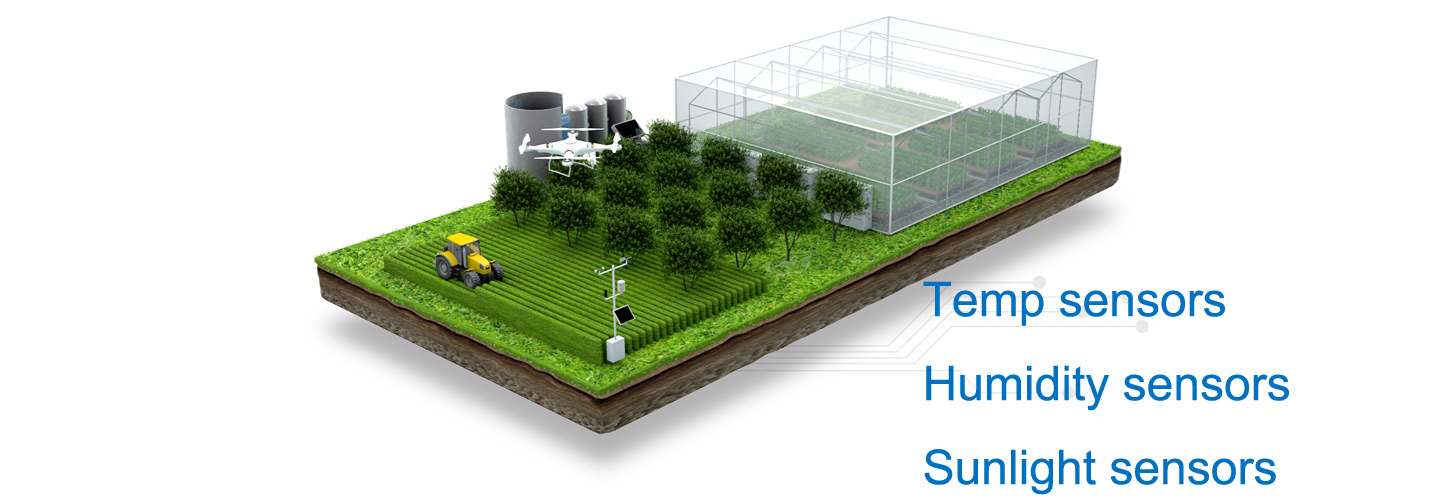
Automated weather stations (AWS) are essential tools for a variety of applications, including agriculture, environmental research, and industrial projects. Proper installation is crucial to ensure that the weather station delivers accurate and reliable long-term data. In this guide, we will walk you through the essential steps to install an AWS successfully, ensuring optimal performance and minimal maintenance.
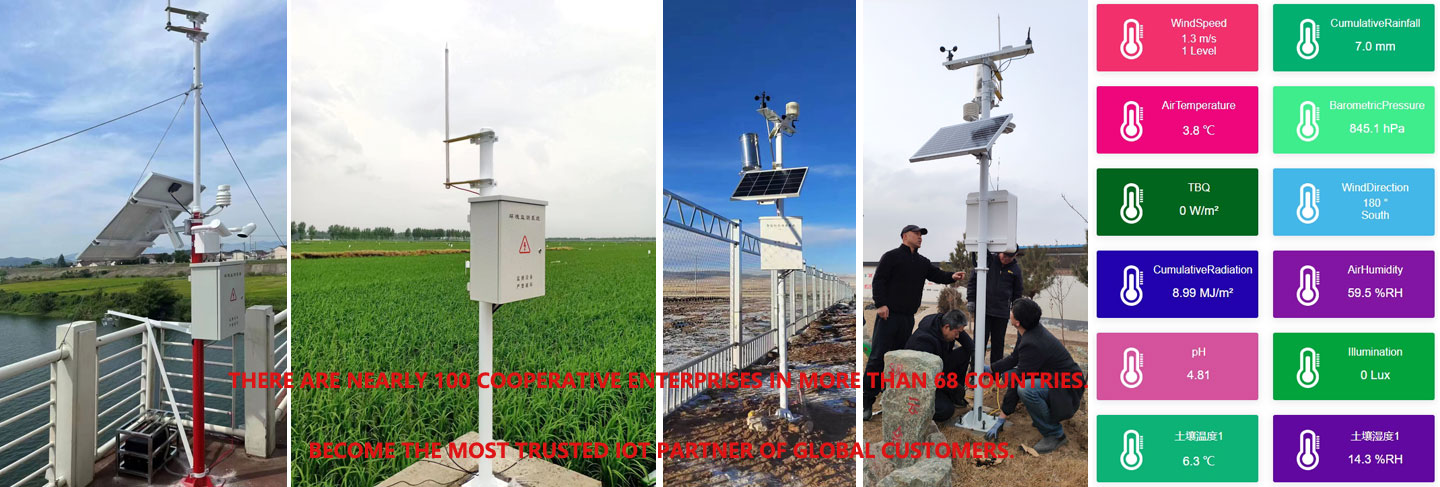
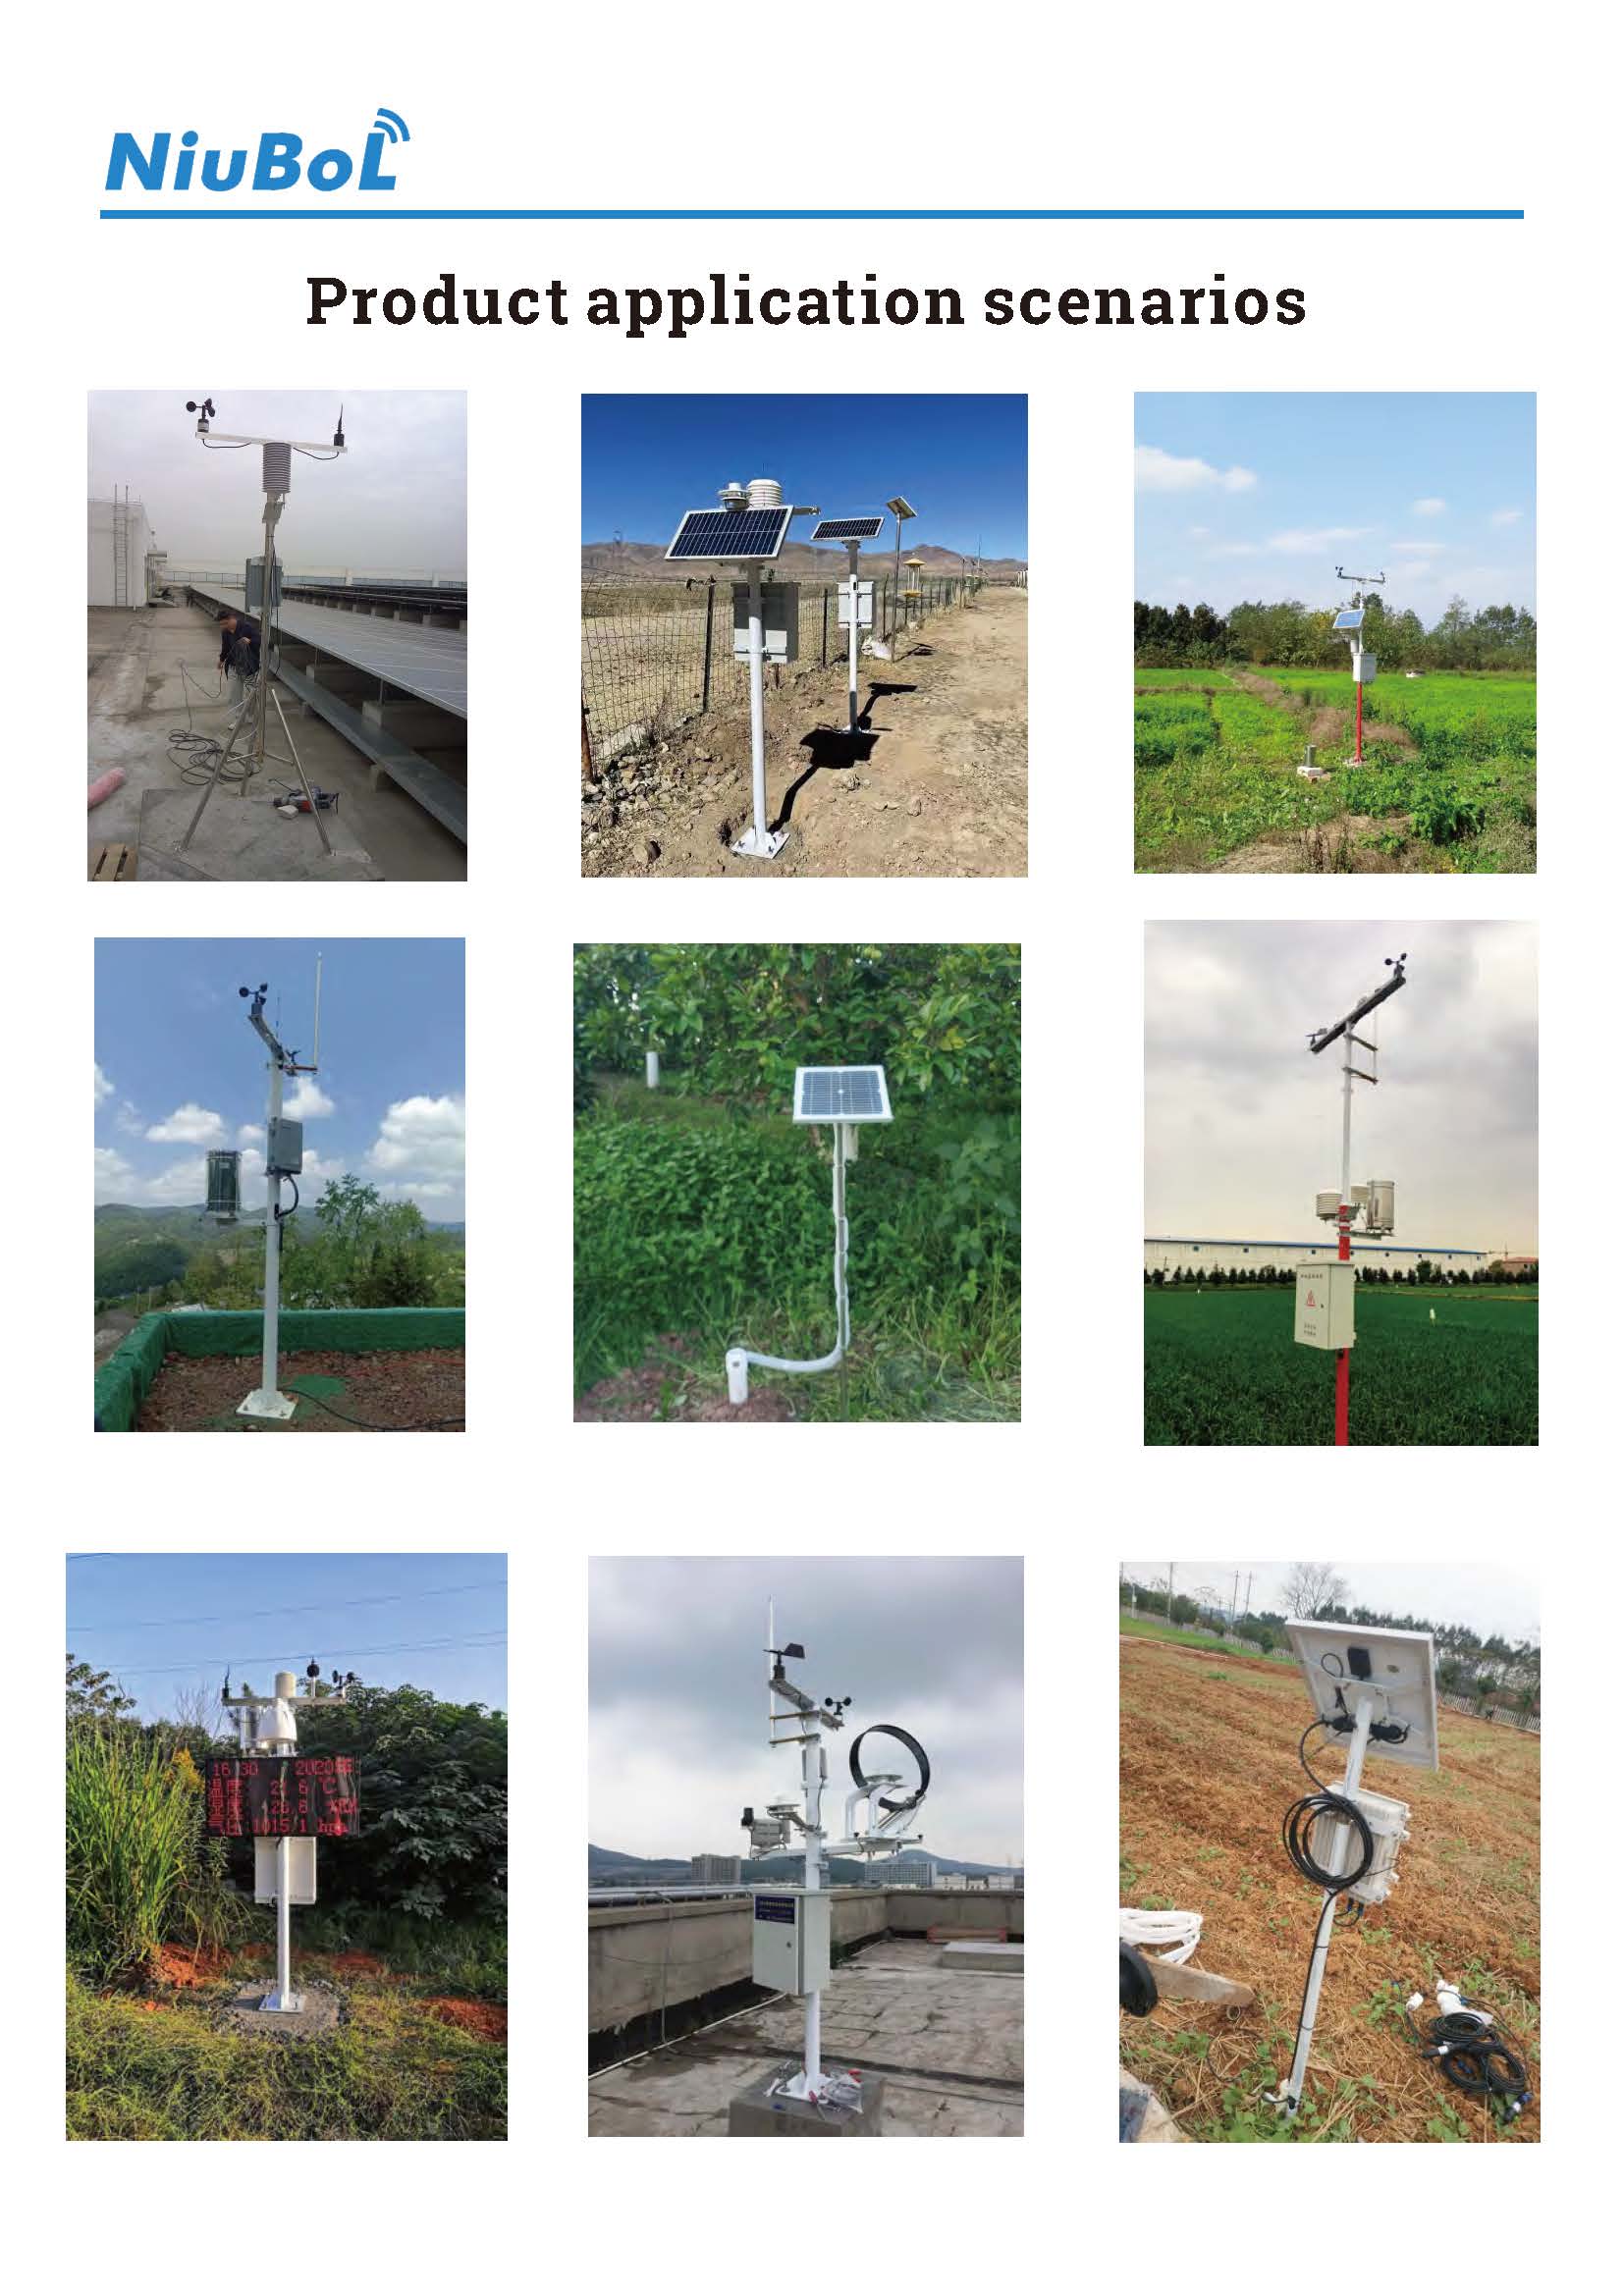
Choosing the right location for your AWS is key to obtaining accurate measurements. Consider the following factors when selecting a site:
- Open Space: Select an area that is clear of tall buildings, trees, or other heat sources that could interfere with data accuracy.
- Representative Ground Surface: The ground surface should reflect the target environment. For agricultural weather stations, a grassy area is ideal, while industrial stations may need to be placed on hard surfaces.
- Wind Exposure: Ensure that the site is not overly sheltered from wind, as this will affect measurements taken by the anemometer and other weather sensors.
Once the site is chosen, it's time to install the mast or tripod that will support the sensors. Follow these guidelines for a stable installation:
- Sturdy Mast or Tripod: Choose a mast or tripod that can securely hold the weight of the sensors and withstand harsh weather conditions.
- Vertical Alignment: Use a level to ensure that the structure is perfectly vertical. This ensures accurate sensor readings.
- Securing the Foundation: If installing on the ground, ensure that the foundation is strong, either through concrete or anchors, to provide stability and prevent shifting over time.
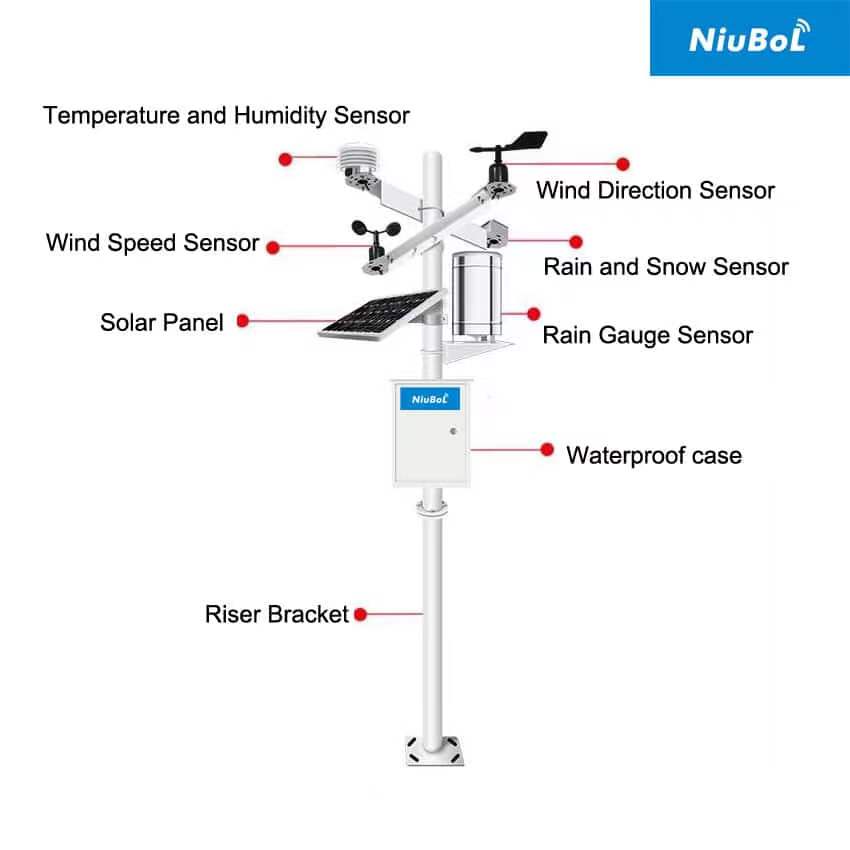
Proper sensor placement is critical for accurate data collection. Here are some guidelines for positioning the sensors:
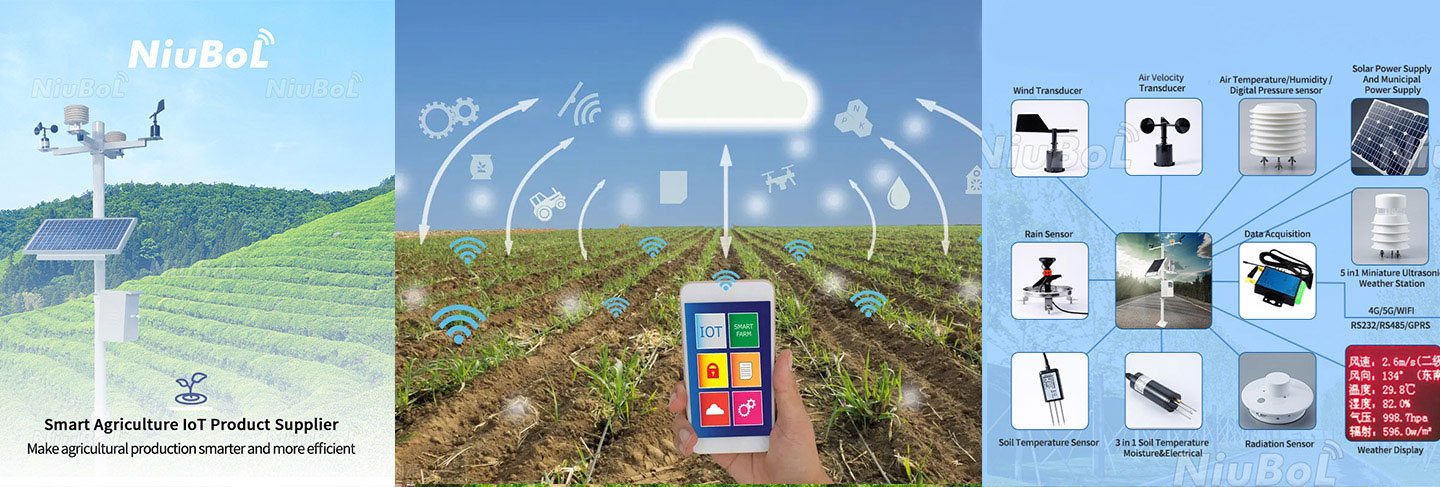
- Temperature and Humidity Sensor: Mount the sensor at a height of 1.5–2 meters above the ground to avoid direct heat from the soil. Ensure that it is shielded from direct sunlight, ideally in a radiation shield.
- Rain Gauge: Place the rain gauge on a level surface, away from any obstructions. It should be located at least twice the distance of the nearest obstacle’s height to avoid interference from wind or debris.
- Anemometer (Wind Speed and Direction): Install the anemometer at a height of 10 meters above the ground, ensuring it is free from obstructions like trees or buildings.
- Solar Radiation Sensor: Position the solar radiation sensor in an open space where it will have unobstructed exposure to the sky. This allows for accurate readings of solar radiation levels.
To ensure uninterrupted operation of your AWS, you must provide a reliable power source:
- Solar Panels with Batteries: For remote locations, solar panels are an ideal power source, complemented by batteries for energy storage. This setup ensures the station operates even in cloudy conditions.
- Mains Power Backup: In locations where solar power is not feasible, consider using mains electricity with a backup power solution to prevent downtime.
- Weatherproof Wiring: Ensure all wiring and connectors are weatherproof to avoid damage from moisture or extreme temperatures.

Accurate data transmission is essential for remote monitoring and analysis:
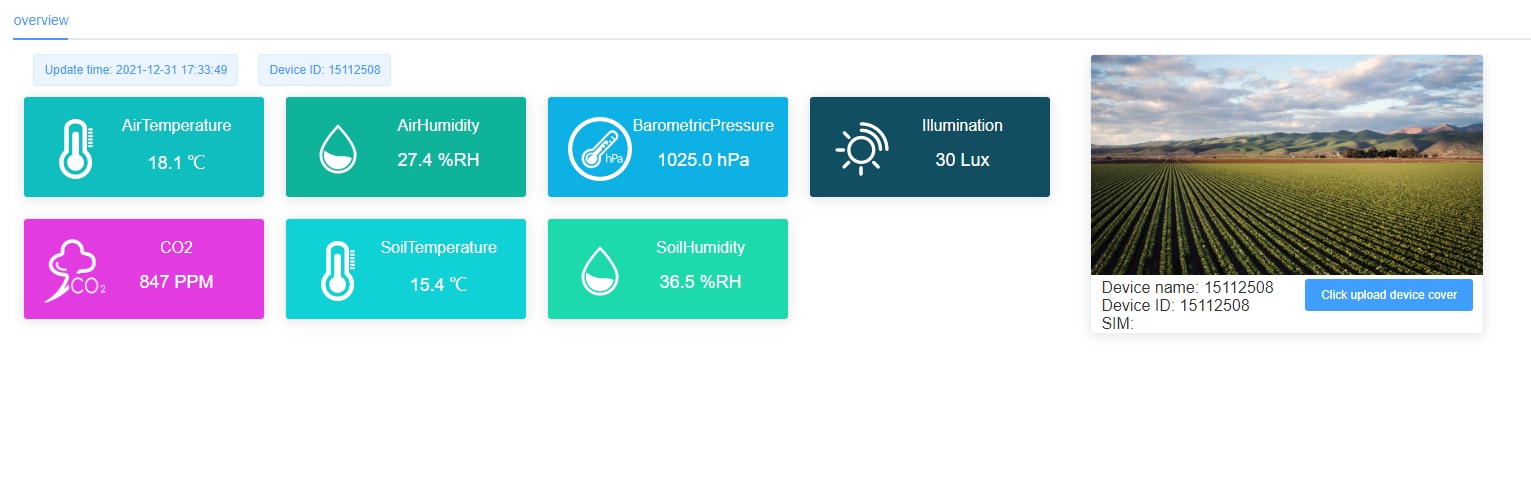
- Data Logger Configuration: Set up the data logger to collect and store data from all sensors. Make sure it is connected to the correct communication system, such as GSM, LoRa, or Wi-Fi, depending on the availability of a network.
- Cloud or Local Server: Configure the system to transmit data either to the cloud or a local server for analysis. Test the data transmission to ensure the system is working correctly and sending data in real time.
Before putting the AWS into full operation, calibration and testing are essential to ensure accuracy:
- Sensor Calibration: Each sensor should be calibrated according to manufacturer guidelines before use. This ensures that readings are accurate and reliable.
- 24-Hour Test: Run a 24-hour test to verify the performance of all sensors. During this period, monitor data for any inconsistencies or errors that might require adjustments.

To ensure long-term reliability, regular maintenance is crucial:
- Clean Rain Gauges: Regularly clean rain gauges to prevent debris buildup that could obstruct water flow.
- Replace Desiccants: Humidity sensors often use desiccants to keep the sensor dry. These should be replaced periodically to maintain accuracy.
- Inspect Wiring and Solar Panels: Conduct routine checks on the wiring and solar panels to ensure they are free from damage or wear. This helps to prevent power failures or data loss.
A well-installed automated weather station (AWS) provides invaluable, real-time climate data that supports a wide range of applications, from smart farming to environmental research. By carefully following the steps outlined in this guide, you can ensure that your AWS operates efficiently and accurately for years to come. Proper site selection, sensor placement, power setup, calibration, and ongoing maintenance are all key factors in the successful operation of an AWS. With the right equipment and attention to detail, your AWS will deliver reliable data that will optimize resource management, improve decision-making, and enhance overall project outcomes.
Prev:How Ambient Air Temperature Sensors Improve Climate Monitoring
Next:Science Behind Soil Moisture Sensors and Accuracy Levels
Related recommendations
Sensors & Weather Stations Catalog
 Agriculture Sensors and Weather Stations Catalog-NiuBoL.pdf
Weather Stations Catalog-NiuBoL.pdf
Agriculture Sensors Catalog-NiuBoL.pdf
Water Quality Sensor Catalog-NiuBoL.pdf
Related products
 Combined air temperature and relative humidity sensor
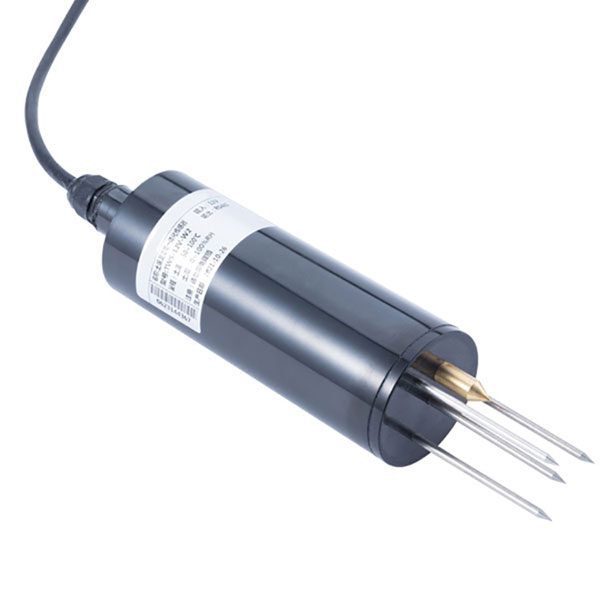 Soil Moisture Temperature sensor for irrigation|NBL-S-THR
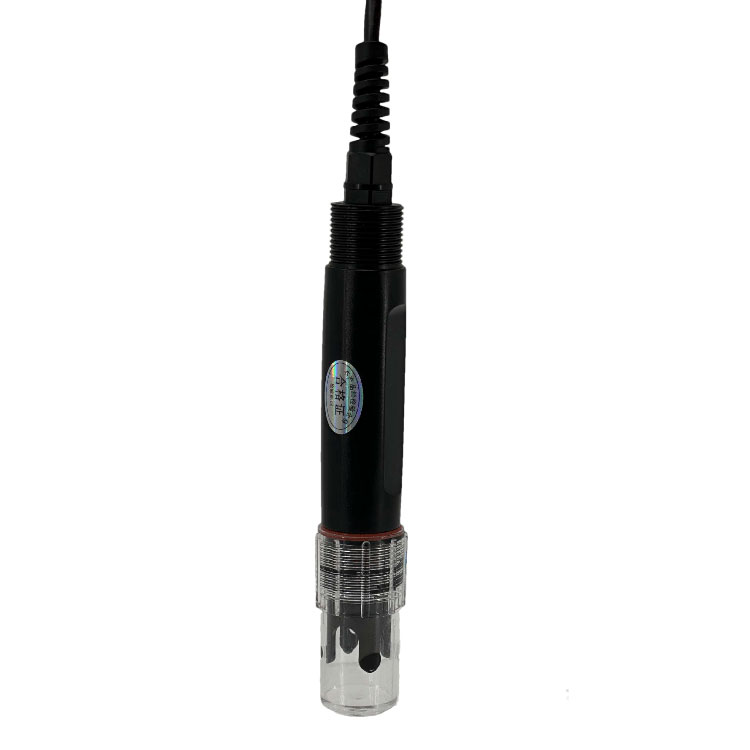 Soil pH sensor RS485 soil Testing instrument soil ph meter for agriculture |NBL-S-PH
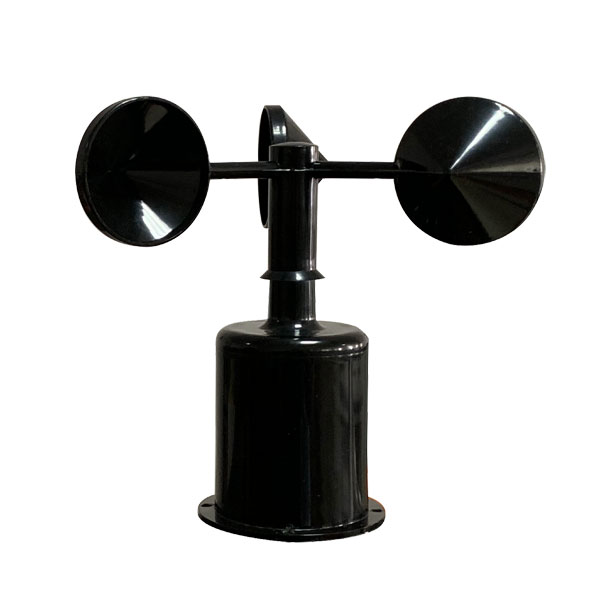 Wind Speed sensor Output Modbus/RS485/Analog/0-5V/4-20mA
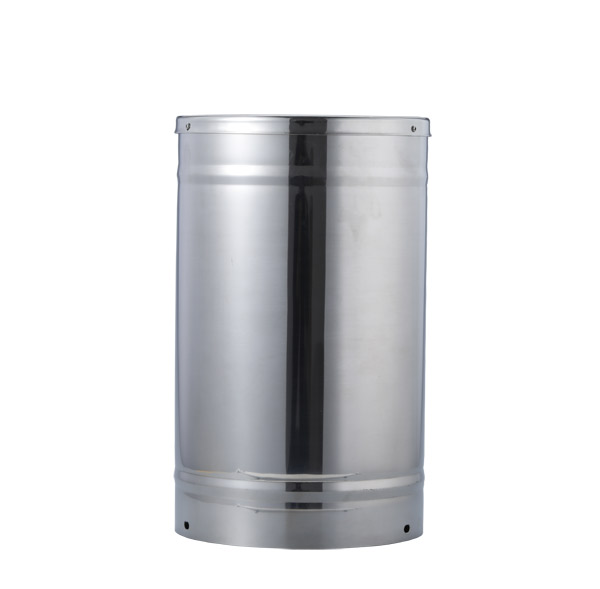 Tipping bucket rain gauge for weather monitoring auto rainfall sensor RS485/Outdoor/stainless steel
 Pyranometer Solar Radiation Sensor 4-20mA/RS485

Screenshot, WhatsApp to identify the QR code
WhatsApp number:+8615367865107
(Click on WhatsApp to copy and add friends)
