

— Blogs —
—Products—
 Consumer hotline +8618073152920
 WhatsApp:+8615367865107
Address:Room 102, District D, Houhu Industrial Park, Yuelu District, Changsha City, Hunan Province, China
Product knowledge
Time:2025-09-24 16:00:03 Popularity:1012
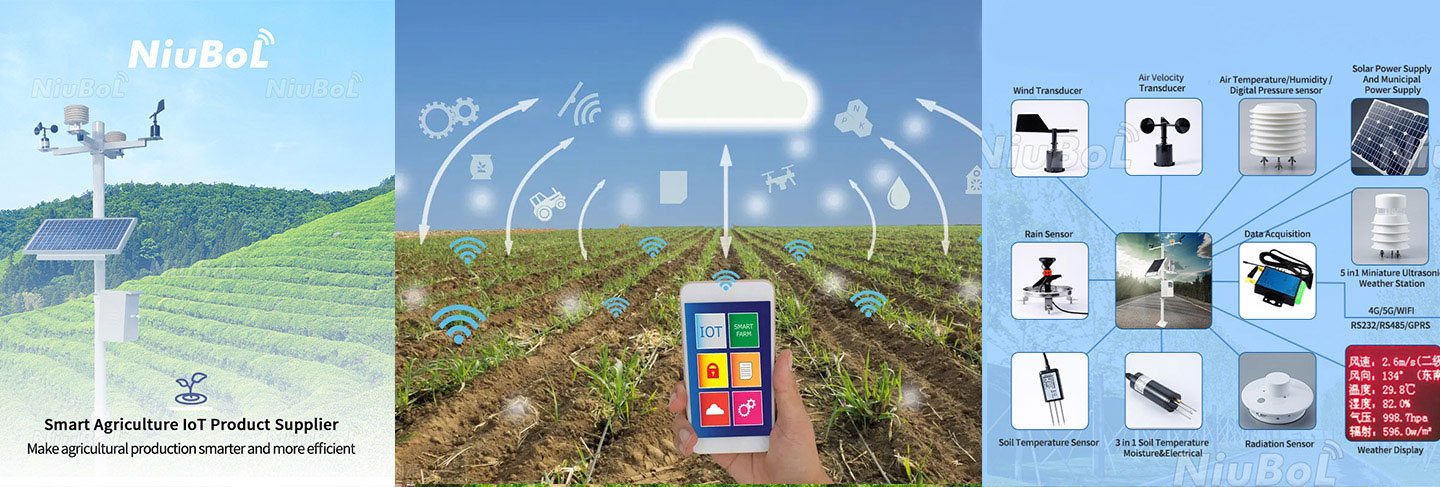
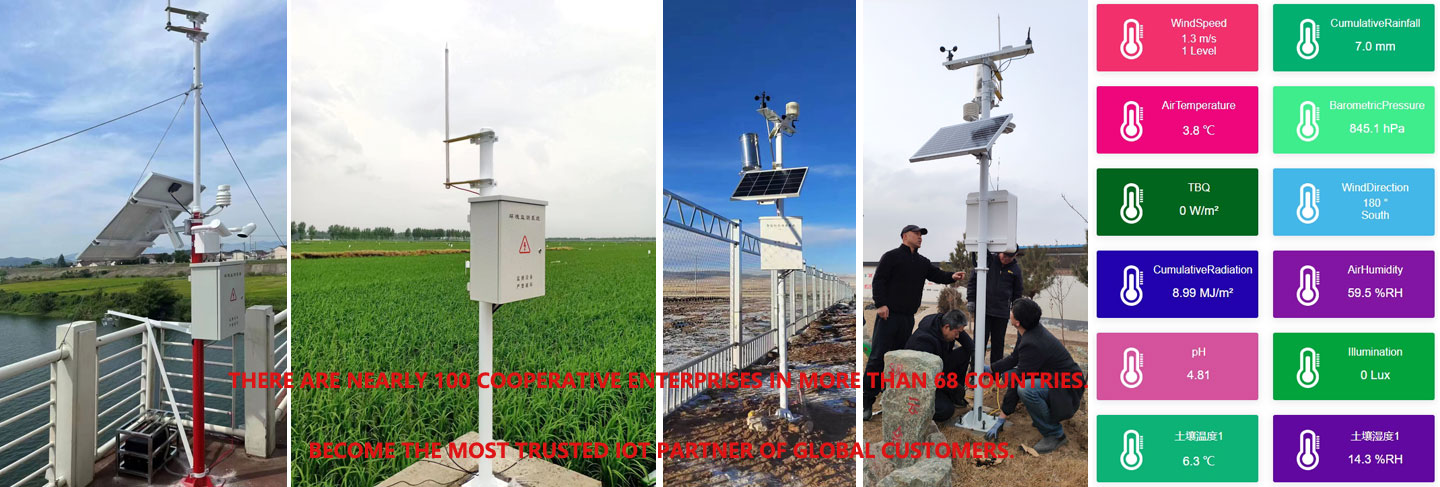
Choosing the right location for your weather sensors is crucial—not just for convenience, but for ensuring that the data you collect is accurate and reflective of real-world conditions. Poor placement can skew your readings by 10-20% or more, leading to misguided decisions in farming, energy production, or even daily weather forecasting. Based on my experience installing systems across varied terrains, here are some practical steps to help you select the best spot every time.
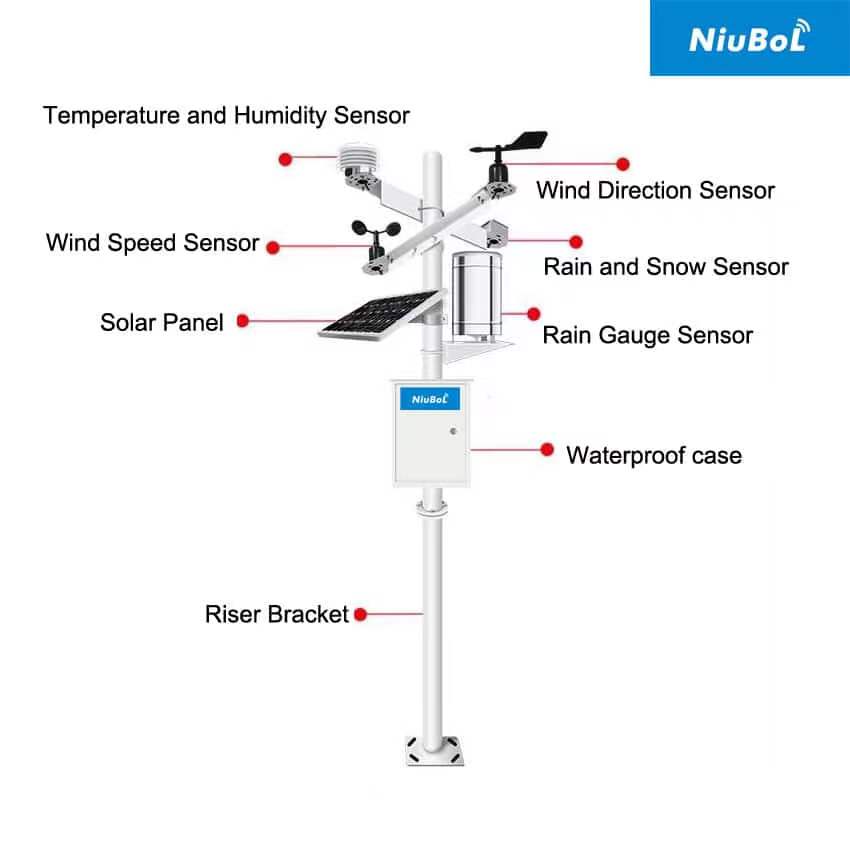
The first rule in sensor placement is to find an area free from obstructions that could cause turbulence or shading. For anemometers (wind sensors), the World Meteorological Organization (WMO) recommends mounting them at a height of 10 meters above ground level, in an open area, and at least 10 times the height of nearby buildings or trees. This ensures a clean wind flow for accurate readings.
- In open fields, this is usually straightforward.
- In urban or suburban areas, where space is limited, choose the highest unobstructed point available—such as a roof mast or a tall pole.
Different areas can have unique climate characteristics that could skew your readings. For example:
- Urban Heat Islands: Urban areas often trap heat, especially around asphalt or south-facing walls. These surfaces can artificially inflate temperature readings, leading to inaccurate data for climate studies or agricultural decisions. Ideally, avoid placing temperature sensors in these hotspots.
- Rain Gauges: Avoid placing rain gauges under overhangs, near tall trees, or on slopes where runoff can distort measurements. Instead, aim for level ground at a height of 1-2 meters, ensuring that the gauge is clear of obstacles that might affect its readings.
- Humidity Sensors: These sensors can be easily fooled by direct sunlight, which might give false high readings. To combat this, place them in partial shade or inside ventilated enclosures.
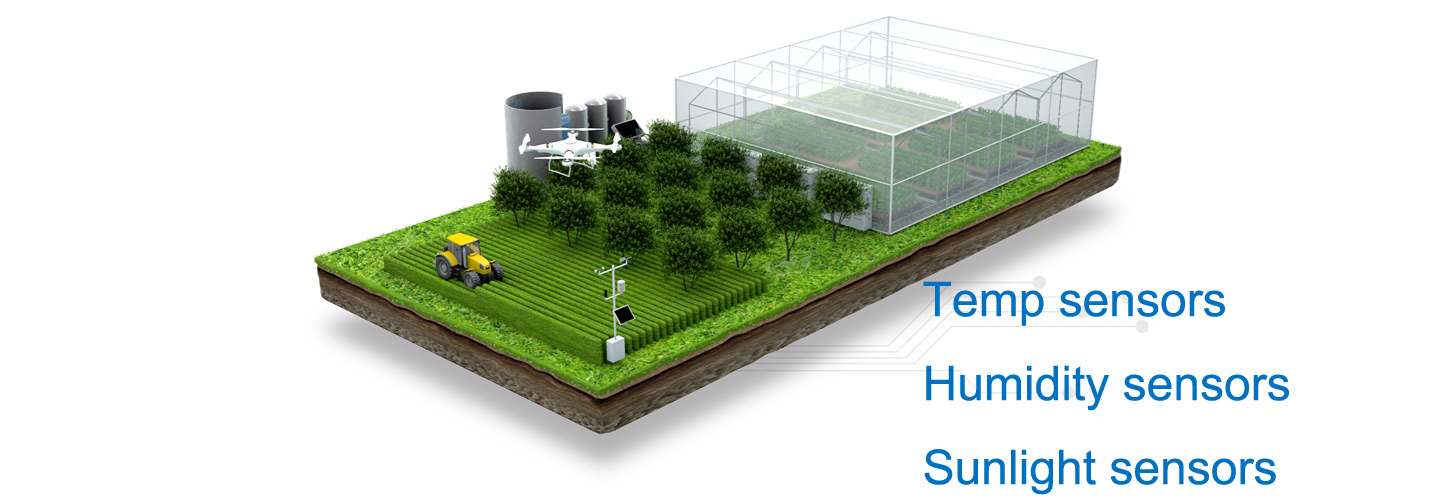
For sensors measuring soil moisture or temperature, it’s important to place them in a representative spot that reflects the average conditions of the field. Here’s what you need to consider:
- Location: In gardens or agricultural plots, place them in the middle of crop rows rather than on the edges. This ensures the data reflects the conditions that the majority of crops are experiencing.
- Depth: The depth of placement matters. For surface-level sensors, you can measure rapid changes in moisture or temperature. For deeper insights, such as root-zone conditions, sensors should be buried several inches to a foot deep.
The practicality of maintaining your sensor setup is just as important as its accuracy. Here are some key factors:
- Wired Sensors: If you're using wired sensors, ensure the cable runs are clear of hazards. Consider potential obstacles like fencing, pathways, or future construction that might interfere with the cables.
- Wireless Sensors: These require a strong and reliable signal path. Consider the terrain and potential sources of interference (like large metal structures or dense trees).
- Maintenance: You don't want to find yourself climbing a ladder during a storm just to clean a sensor. Opt for low-maintenance, weather-resistant sensors, especially if your installation is in a remote area.
Before installing any sensor, it’s important to check for local zoning laws and safety requirements:
- Zoning and Height Restrictions: Tall sensor masts may require permits in certain areas. Check with local authorities to ensure compliance.
- Lightning Protection: Grounding your sensors is essential, especially in areas prone to lightning strikes. Proper grounding minimizes the risk of damage to the equipment.
- Wind and Vibration Resistance: In areas with strong winds, ensure that sensor mounts are securely fastened and vibration-resistant to avoid false readings or sensor failure.
Finally, before you commit to a location, it’s helpful to test multiple spots. Here’s how:
- Use Portable Sensors: Temporarily install portable sensors at different locations for a week to log data. Comparing these readings can give you a clearer picture of the ideal placement.
- Site Surveys and Apps: Use tools like site surveys or specialized apps that model wind flow and other environmental factors to find the best location.
The ultimate goal is to ensure that the data you collect is actionable, not just accurate. A well-chosen sensor location turns your setup from a simple gadget into a reliable ally in decision-making.
Choosing the right location for weather sensors is a crucial step in ensuring data accuracy and reliability. By focusing on elevation, openness, microclimates, practical considerations like power and accessibility, and safety, you’ll be well on your way to setting up a system that delivers real, actionable insights. A strategic location can make all the difference between having reliable data that improves decision-making and dealing with faulty readings that could compromise the success of your operations.
Related recommendations
Sensors & Weather Stations Catalog
 Agriculture Sensors and Weather Stations Catalog-NiuBoL.pdf
Weather Stations Catalog-NiuBoL.pdf
Agriculture Sensors Catalog-NiuBoL.pdf
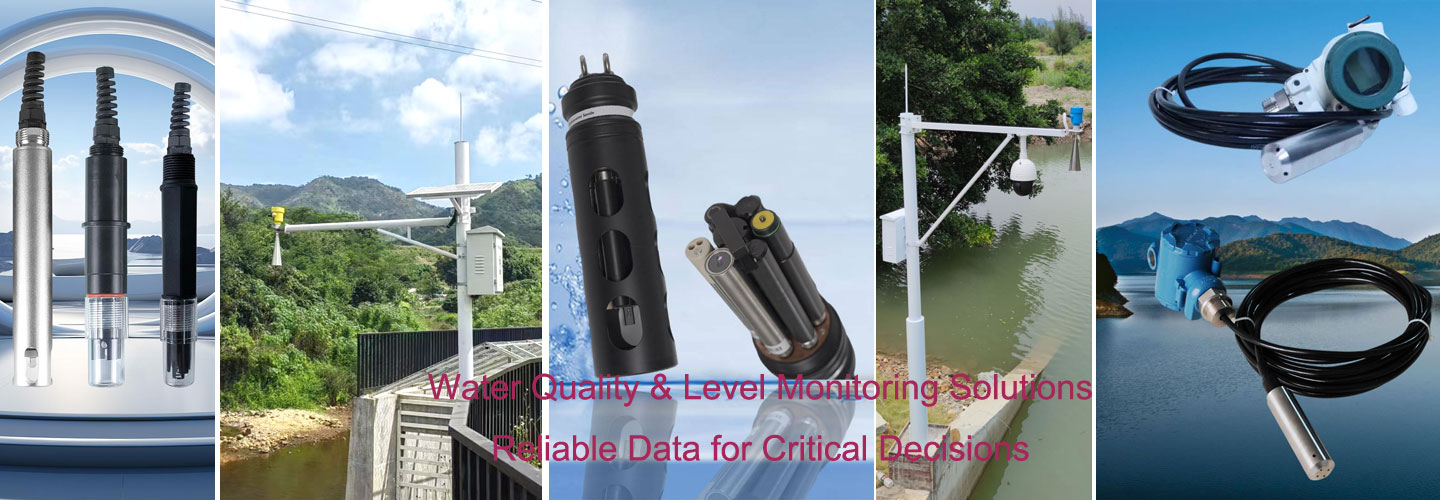
Water Quality Sensor Catalog-NiuBoL.pdf
Related products
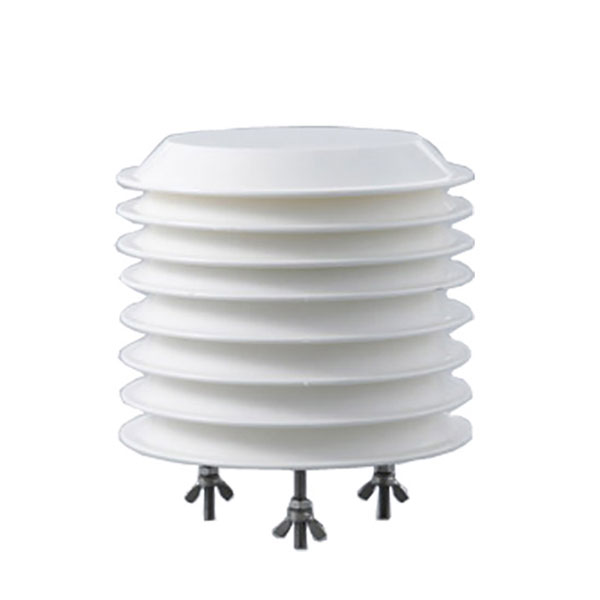 Combined air temperature and relative humidity sensor
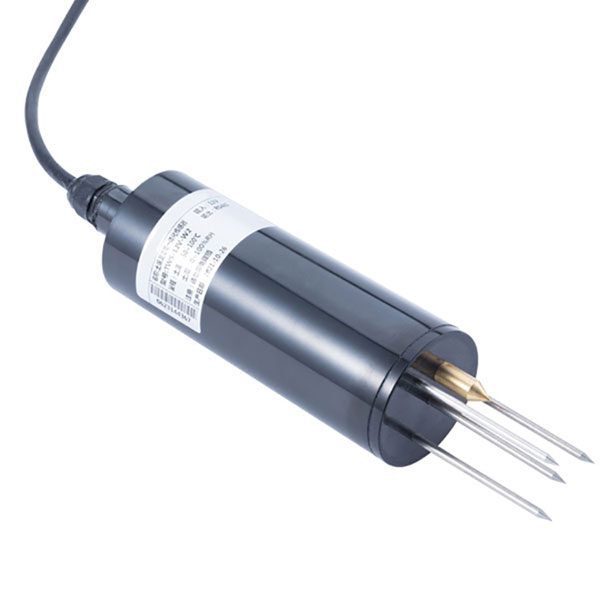 Soil Moisture Temperature sensor for irrigation|NBL-S-THR
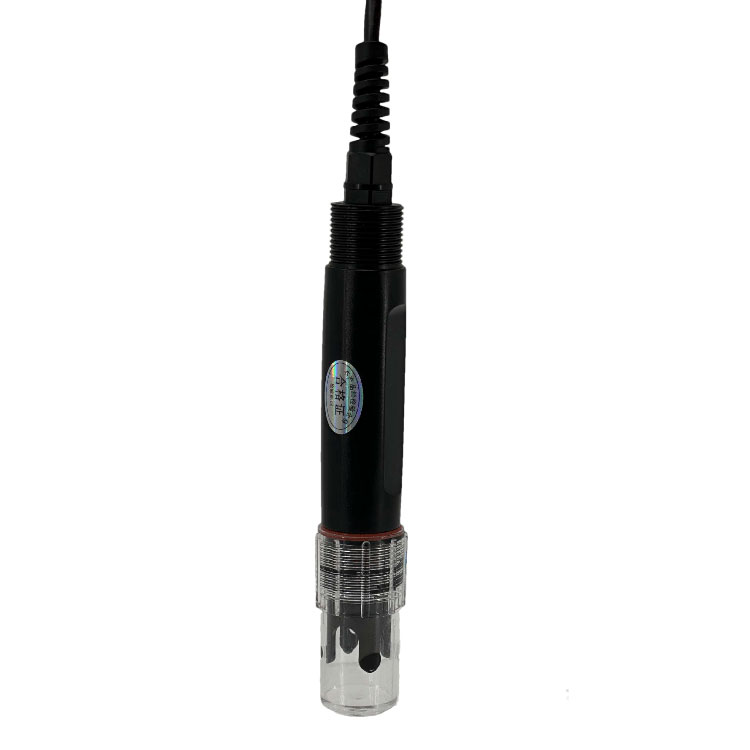 Soil pH sensor RS485 soil Testing instrument soil ph meter for agriculture |NBL-S-PH
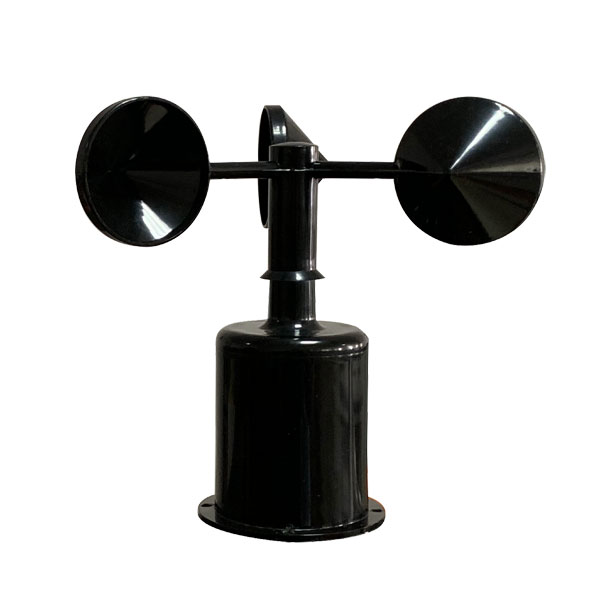 Wind Speed sensor Output Modbus/RS485/Analog/0-5V/4-20mA
 Tipping bucket rain gauge for weather monitoring auto rainfall sensor RS485/Outdoor/stainless steel
 Pyranometer Solar Radiation Sensor 4-20mA/RS485

Screenshot, WhatsApp to identify the QR code
WhatsApp number:+8615367865107
(Click on WhatsApp to copy and add friends)
