
— Blogs —
—Products—
 Consumer hotline +8618073152920
 WhatsApp:+8615367865107
Address:Room 102, District D, Houhu Industrial Park, Yuelu District, Changsha City, Hunan Province, China
Technical Support
Time:2024-04-21 19:58:00 Popularity:2181
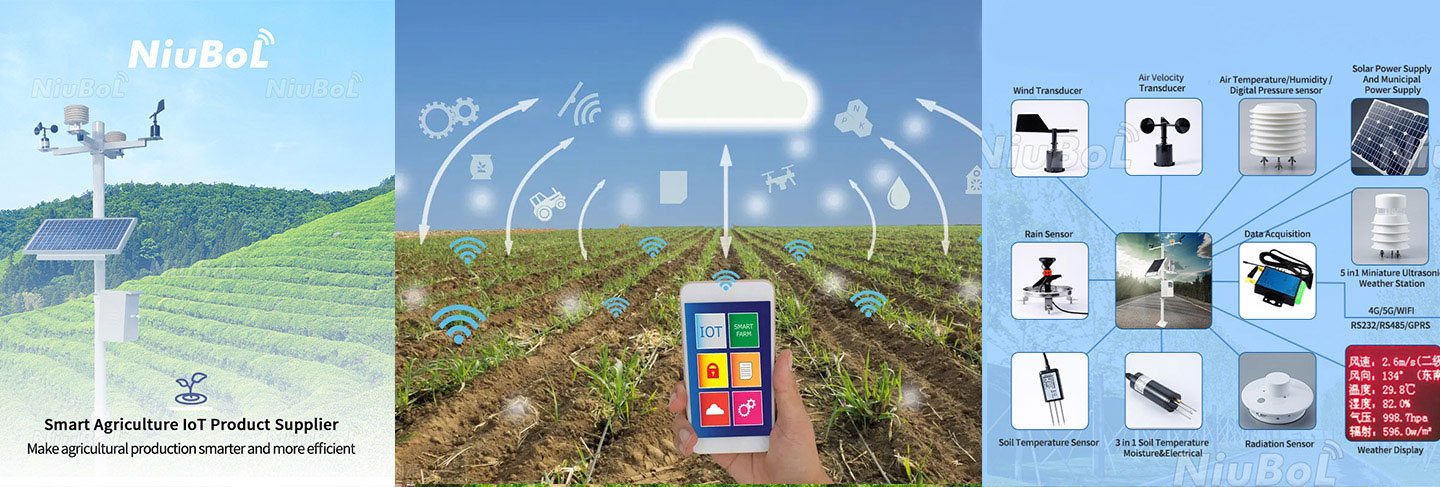
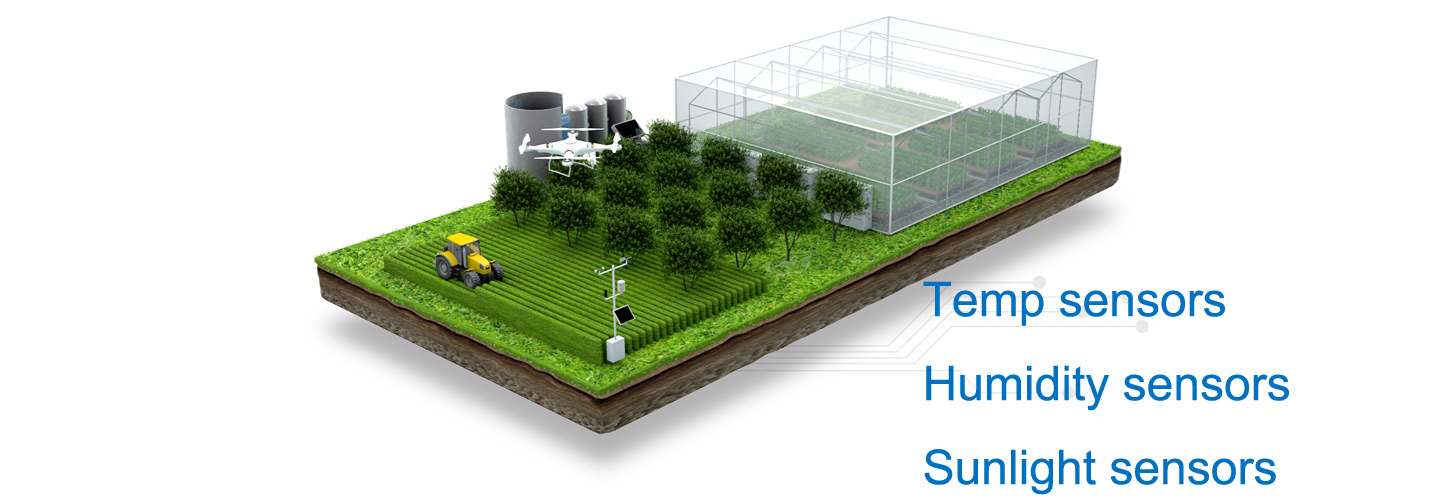
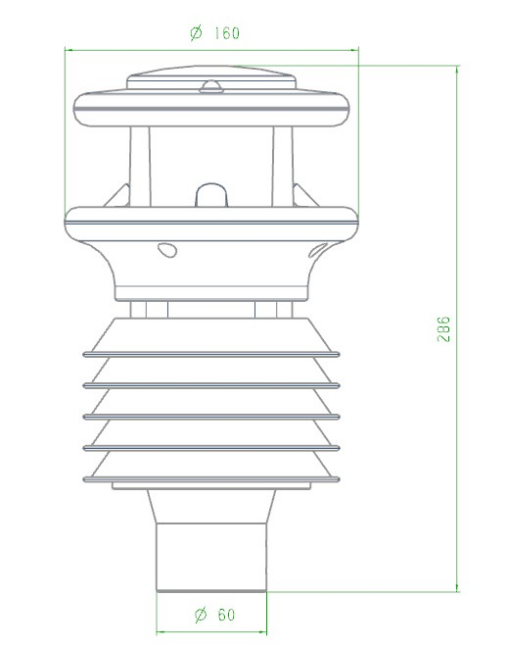
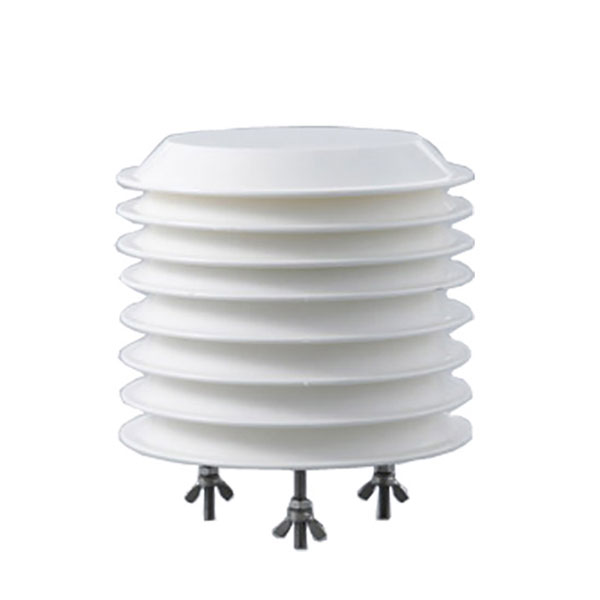
Ultrasonic integrated weather sensor is a fully digital detection, high-precision sensors, can quickly and accurately detect the wind speed, wind direction, atmospheric temperature, atmospheric humidity, atmospheric pressure, built-in signal processing unit can be output according to user demand for the corresponding signals, can be optionally integrated PM2.5, PM10, noise, radiation, rainfall and other elements. High-strength structural design can work reliably in the harsh climate environment, high integration, rugged. Widely used in meteorology, environment, airports, ports, laboratories, industry, agriculture and transport.
The following is the basic installation guide for ultrasonic integrated weather sensor:
1. Preparation
Read the manual: Before installation, read the manual of the sensor carefully to understand its working principle, technical parameters and installation requirements.
Prepare tools: According to the installation requirements of the sensor, prepare the appropriate tools, such as screwdrivers, spanners, insulating tape and so on.
Check the sensor: make sure that the sensor is not damaged during transport and that all interfaces and components are intact.

2. Prepare the mounting location
Choose a suitable mounting point to ensure that the sensor can measure in an open and unobstructed environment.
Ensure that the mounting point is representative of the meteorological conditions of the surrounding environment.
Consider security and avoid installing in a location where it can be easily stolen or damaged.
3. Installation of vertical mounting pipe
Prepare a vertical mounting tube according to the sensor model and installation requirements.
Secure the mounting tube to the selected mounting point, making sure it is perpendicular to the ground.
4. Locate the sensor
Determine the geographic north pole direction using a standard compass.
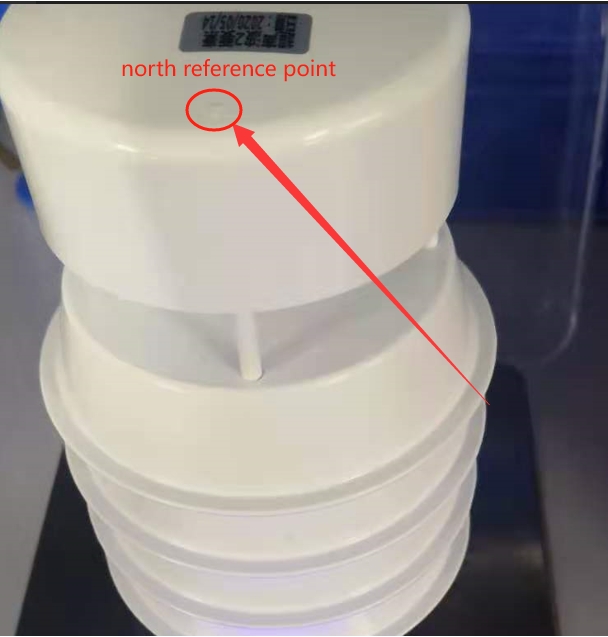
the north reference point (as shown in the figure above),and this reference point needs to align with the actual geographical north direction.
Align the sensor's pointing point (usually a marker) with the geographic north pole direction.
Ensure that the sensor points in the same direction as the compass.
5. Secure the sensor
After confirming that the sensor is pointing correctly, secure it to the mounting tube. The mounting tube requires 3 equally spaced holes, tapping M5 screws, positioned 7.5mm from the top of the tube, and passing the cable through the mounting tube; make sure it is firmly fixed to avoid the sensor shifting due to wind or other external forces.
Note: The user must properly strain relief the cable. The plug can be connected to the unit's plug by rotating the plug and gently pushing inward. Once the plug is attached, the plug can be locked in place by turning the outer sleeve clockwise. The device can be fixed to the mounting tube using 3 stainless steel screws. The customer must ensure that the unit is installed in an open area so that surrounding buildings do not obstruct the airflow or cause flocculation. Do not install the device next to radar or radio transmitters.
6. Connecting the wires
Connect the sensor terminals to the pre-prepared wires.
Ensure that the connection is firm and has good contact to prevent the wires from being pulled or damaged.
7. Test
Test the sensor after switching on the power to make sure it works properly and reads accurately.
8. Protective Measures
To prevent damage to the equipment caused by lightning, appropriate lightning protection measures should be taken.
To prevent dust and rainwater intrusion, the sensor can be equipped with a protective cover as required.
9. Periodic maintenance
Periodic maintenance should be carried out after installation to check that the sensor is working properly and that the connections are secure.
Ultrasonic integrated weather sensor Installation Precautions
Ultrasonic multi-factor integrated sensors can meet a number of specifications, can be used in different environments around the world, the site does not need to carry out complex maintenance and calibration.
Check frequently to ensure that the sensor is not interfered with by other operating equipment, e.g. radio/radar transmitters, ship's engines, motors etc;
Do not mount on a level surface with any radar scanning device, a distance of at least 2 metres should be maintained;

It is recommended to keep a distance from some of the surrounding radio receiving antennas;
Installation position should be away from the source of vibration;
Use the cable recommended by the Company;
If the cable is cut and not properly connected, or if the cable shield is not properly connected, simply wire it according to the installation instructions;
Ensure continuous power supply to the unit during operation;
Avoid flotsam from surrounding structures such as trees, utility poles, tall buildings, etc., which can affect the accuracy of the ultrasonic wind speed and direction meter;
The World Meteorological Organisation(WM) gives the following advice:
Installation criteria for meteorological instruments: 10 metres above ground level in open areas; open areas are defined as 10 metres above the height of any obstacle to the meteorological instrument;
If mounted on a building, the theoretical height of the meteorological instrument installation should be 1.5 times the height of the building;
If mounted on a boom on a mast, a tower or a branch of a mast, the length of the boom or branch must be twice the minimum diameter or diagonal of the tower. The boom needs to be installed on the side of the prevailing wind;
Related recommendations
Sensors & Weather Stations Catalog
 Agriculture Sensors and Weather Stations Catalog-NiuBoL.pdf
Weather Stations Catalog-NiuBoL.pdf
Agriculture Sensors Catalog-NiuBoL.pdf
Water Quality Sensor Catalog-NiuBoL.pdf
Related products
 Combined air temperature and relative humidity sensor
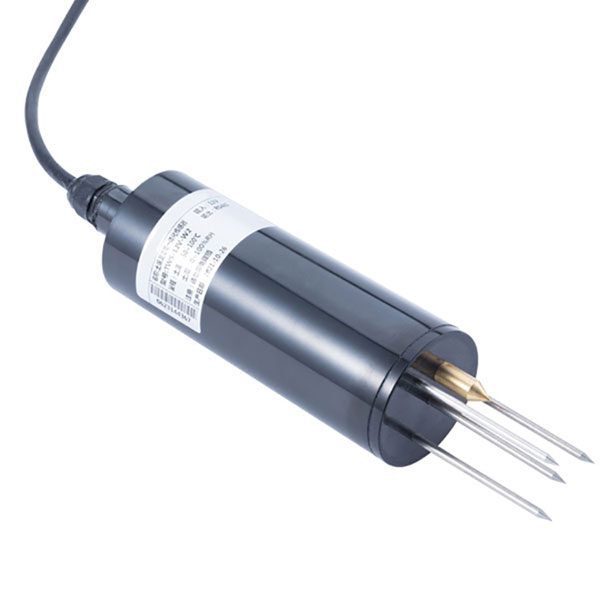 Soil Moisture Temperature sensor for irrigation|NBL-S-THR
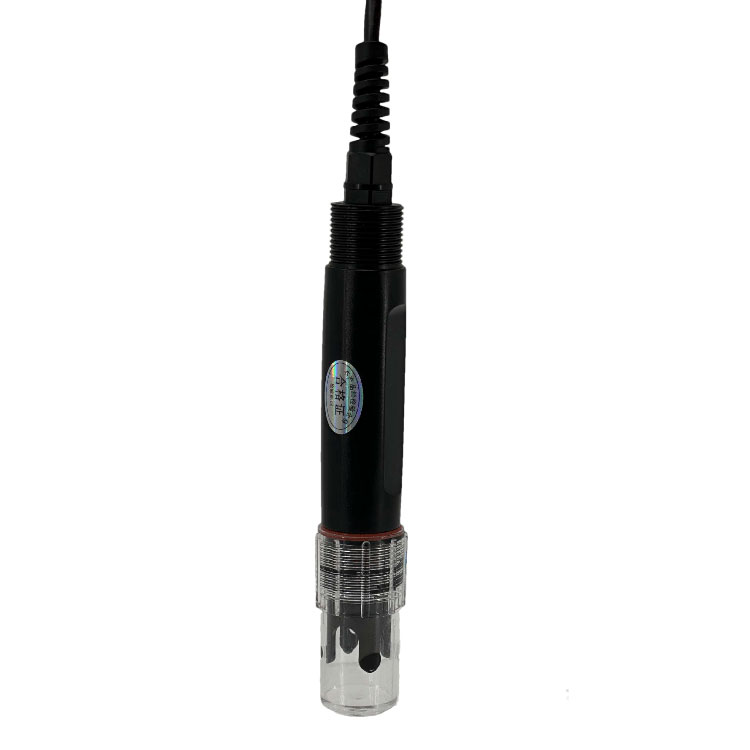 Soil pH sensor RS485 soil Testing instrument soil ph meter for agriculture |NBL-S-PH
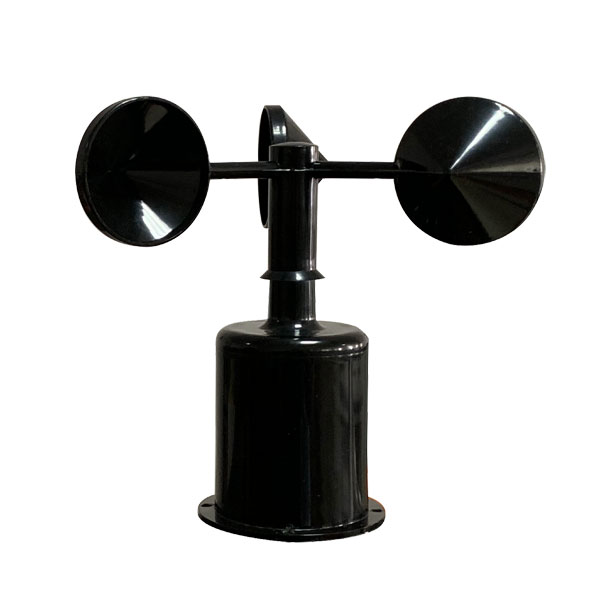 Wind Speed sensor Output Modbus/RS485/Analog/0-5V/4-20mA
 Tipping bucket rain gauge for weather monitoring auto rainfall sensor RS485/Outdoor/stainless steel
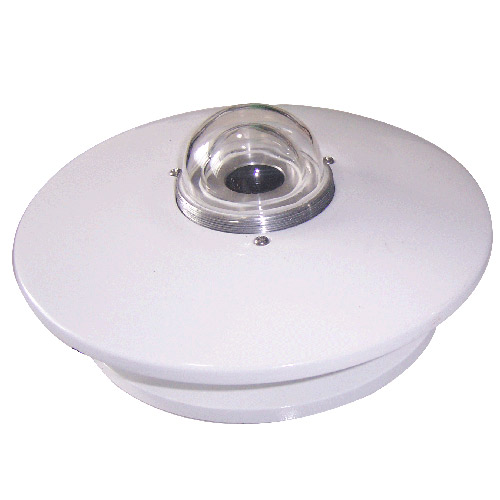 Pyranometer Solar Radiation Sensor 4-20mA/RS485

Screenshot, WhatsApp to identify the QR code
WhatsApp number:+8615367865107
(Click on WhatsApp to copy and add friends)

