


— Blogs —
—Products—
 Consumer hotline +8618073152920
 WhatsApp:+8615367865107
Address:Room 102, District D, Houhu Industrial Park, Yuelu District, Changsha City, Hunan Province, China
Product knowledge
Time:2026-01-04 14:01:15 Popularity:659
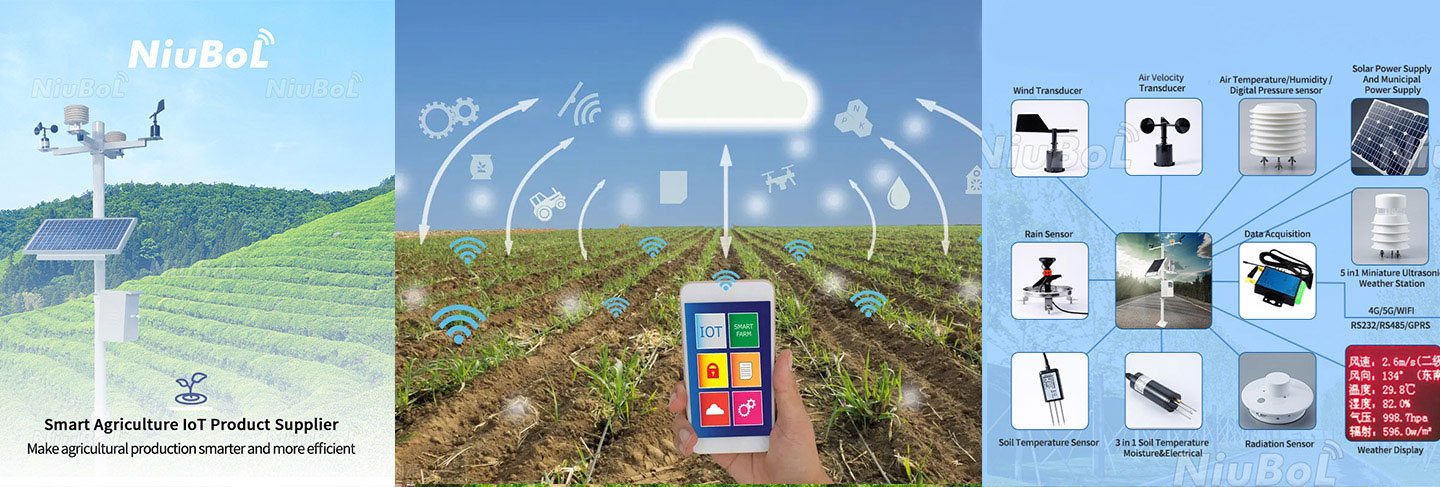
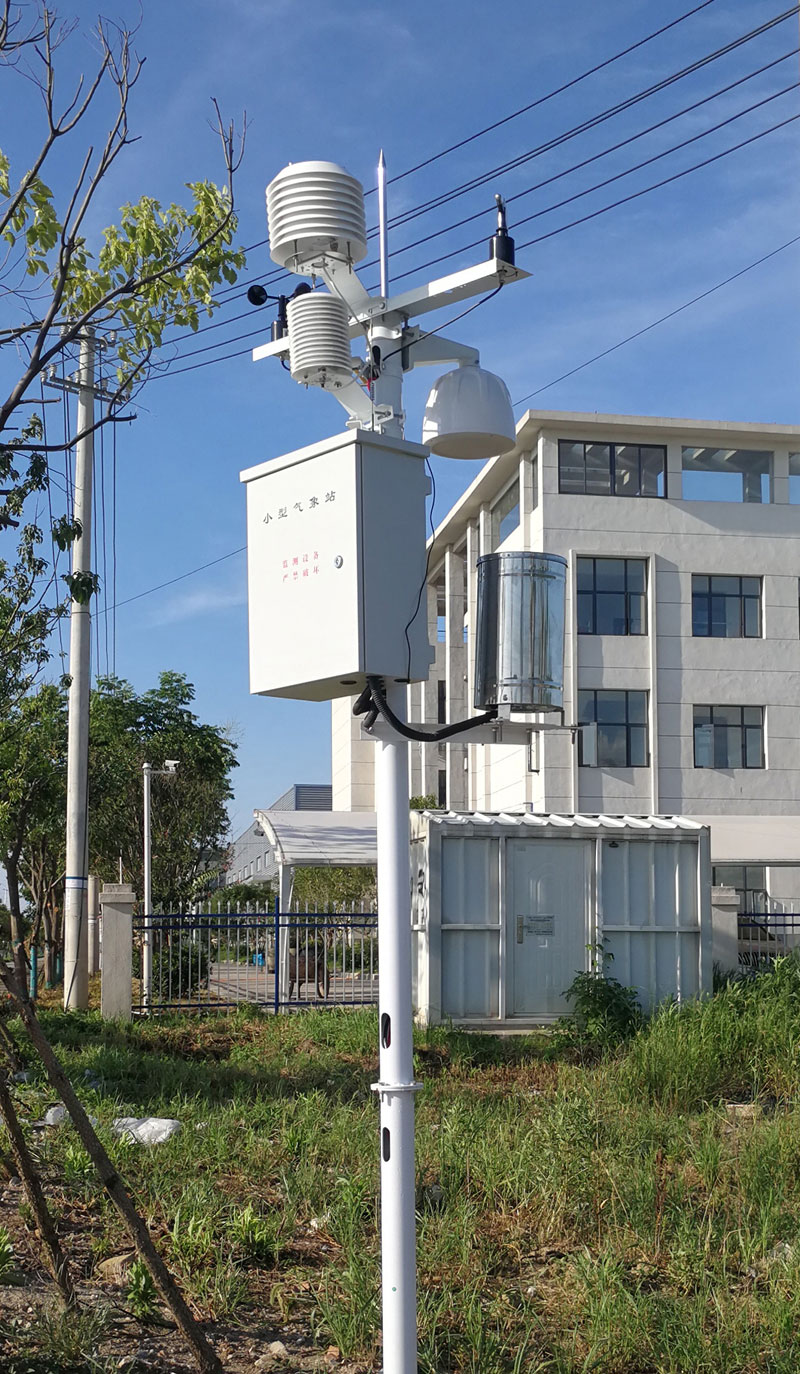
When building smart agriculture, environmental monitoring, or new energy wind farm monitoring systems, the installation quality of wind direction and speed sensors (Anemometer & Wind Vane) directly determines the representativeness of data and the lifespan of equipment. As a Chinese brand in the meteorological monitoring field, NiuBoL always emphasizes "scientific site selection and standardized installation."
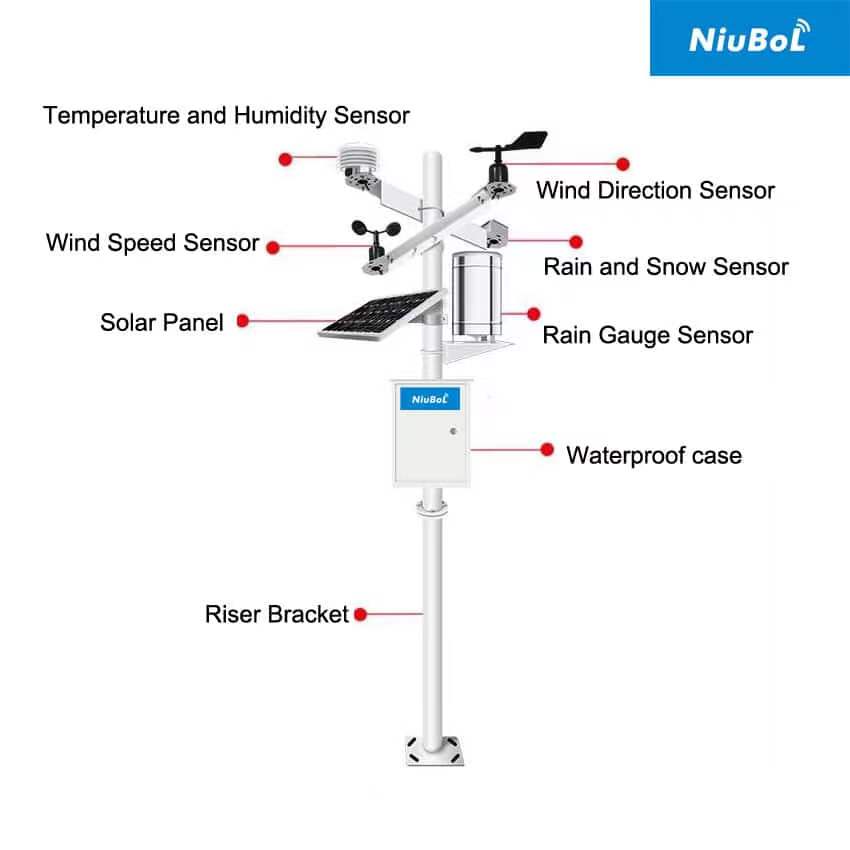
A standard wind force monitoring unit typically consists of wind speed sensor, wind direction sensor, cross arm, wind pole, and lightning protection system. This article, based on practical experience, deeply dissects a standard, safe NiuBoL sensor installation process for you.

Before installation begins, you must understand the connection logic between equipment. NiuBoL systems typically adopt high-integration cross arm designs to simplify wiring and improve anti-interference capabilities.
Cross Arm Interfaces: The upper parts of the cylinders at both ends of the cross arm respectively have built-in 7-pin and 12-pin plugs, corresponding to connections for wind speed sensor and wind direction sensor. This differentiated design effectively prevents on-site wiring errors.
Signal Aggregation: The lower part of the cylinder at one end of the cross arm is equipped with a 12-pin cable plug. Through this bus, signals from wind direction and wind speed will be uniformly transmitted to the backend NiuBoL intelligent data collector.

1.Indoor Pre-Assembly of Sensors
Before going on site, carefully read the sensor user manual accompanying NiuBoL.
Assembly Details: Assemble the unpacked sensing components (such as wind cups, wind vanes) as required. It is recommended to pre-install wind direction and wind speed sensors on the corresponding cylinder plugs of the cross arm in a dry indoor environment and confirm secure connections.
Check: Manually rotate wind cups and wind vanes to ensure flexible rotation without abnormal noise.
2.Wind Pole System Assembly
Common wind poles adopt a "foldable" structure of three metal round tubes connected, which greatly facilitates later maintenance.
Base Fixing: Install the hinged fixed seat on the pre-poured wind pole base, adjust to level, and use two M20 nuts to fasten.
Threading Operation: On the ground, arrange the three metal poles in order from thick to thin, and pass the dedicated shielded cable through the interior of the wind pole and the hinged fixed seat.
3.Mounting Wind Sensors and Cross Arm
This is the key step determining measurement height.
Base Connection: Install the dedicated base for fixing the sensor at the top of the wind pole.
North-South Pre-Adjustment: Install the sensor cross arm on the top base. Theoretically, if the cross arm is level with the ground, the cross arm should present a north-south orientation. If the local area has obvious prevailing wind direction, calculate the angle between the cross arm and the ground in advance, leaving space for later north calibration.
.jpg")
4.Establishing System Safety Barrier: Lightning Protection Device
Meteorological poles are usually located in high places in the field, extremely susceptible to lightning strikes.
Lightning Rod Installation: Install the lightning rod at the very top of the wind pole, higher than the sensor sensing surface.
Down Conductor Layout: Use copper screws to fix the down conductor. If the grounding device is at the wind pole bottom, the down conductor runs down along the wind pole surface; if at the guy wire base, along the guy wire downward.
Spacing Standards: Every 1m interval must be fastened with wire clips to prevent cable swinging and wear in strong winds.
5.Multi-Person Collaboration: Erecting the Wind Pole
Erecting the pole is the highest-risk link in the entire project.
Operation Safety: Must ensure multi-person collaboration with unified command. Strictly prohibit standing in the direction where the wind pole may fall.
Slow Lifting: Utilize the hinged structure characteristics to steadily lift the wind pole to vertical position.
6.Core Calibration: Precise North Pointing
The accuracy of wind direction data depends on whether the sensor's "zero position" aligns with geographic true north.
North Pointing Needle Calibration: Use a professional north pointing needle with a mirror to check if the north pointing rod on the wind direction sensor points to true north.
Fine-Tuning Techniques: If the error is small, fine-tune the ground foot screws at the wind pole bottom to slightly rotate the entire wind pole. If the error is large, the wind pole must be lowered and the cross arm angle readjusted.
Verticality Adjustment: After direction is correct, tighten or loosen the three-side guy wires, use a level to ensure wind pole verticality error within allowable range.
7.Completion Inspection and System Commissioning
Guy Wire Tension: Check if guy wires are appropriately tight (too tight easy to be damaged by shear force, too loose easy to sway).
Fasteners: Confirm all screws have been coated with anti-rust grease and fastened in place.
Data Link: Connect NiuBoL data collector and observe if data updates in real time.
To enhance system operation performance, NiuBoL recommends paying more attention to the following points during installation:
Avoid Turbulence Sources: Wind poles should be installed in open areas. If must be installed on rooftops, wind sensor height should be at least 2 meters above rooftop obstacles to avoid building-generated vortices.
Cable Protection: Strictly prohibit violent pulling during threading. Apply a small amount of vacuum grease to sensor plugs during connection to enhance waterproof sealing.
Guy Wire Base Stability: Guy wire anchor foundations need deep burial to prevent pole falling due to soil loosening from heavy rain.

Q1: Why does the installation manual emphasize fixing lightning rod down conductors every 1m?
A: Field winds are extremely strong. If down conductors are not fixed, long-term wind vibration will cause copper wire fatigue fracture, and even during lightning strikes, produce "electrodynamic effect" leading to violent wire swinging damaging sensors.
Q2: Is there a difference between magnetic north and true north during north pointing calibration?
A: Yes, there is a difference. The north pointing needle indicates magnetic north, while meteorological records need geographic true north. In most areas of China, these two have magnetic declination. For high-precision observations, NiuBoL recommends querying local magnetic declination for data compensation or manual correction.
Q3: Why make three-section wind poles foldable?
A: This design is for convenient later maintenance. Sensors may need dust cleaning or bearing checks after 1-2 years of operation; foldable wind poles allow maintenance personnel to work safely on the ground without climbing.
Q4: Does the cross arm have to be north-south oriented?
A: This is for standardized management. North-south installation makes subsequent north fine-tuning very intuitive. If terrain restrictions prevent north-south, as long as rotating the wind pole aligns the wind direction mark's "zero degree position" with true north, it's fine.
The installation of wind direction and speed sensors is a rigorous system engineering. From hinged base leveling adjustment to guy wire tension fine-tuning, every detail concerns the final meteorological performance output.
By using NiuBoL's professional meteorological poles and sensor systems and strictly following the above seven-step installation method, you can ensure the monitoring station not only withstands tests of extreme weather but also continuously outputs high-precision research-grade data. NiuBoL is committed to providing you with all-round support from hardware perception to standardized guidance, making precise meteorological data your strongest backing for decisions.
 NBL-W-SS-Wind-Speed-Sensors-Instruction-Manual.pdf
NBL-W-DS-wind-direction-sensor-Manual.pdf
NBL-W-SDS Integrated wind speed and direction sensor User manual.pdf
Related recommendations
Sensors & Weather Stations Catalog
Agriculture Sensors and Weather Stations Catalog-NiuBoL.pdf
Weather Stations Catalog-NiuBoL.pdf
Agriculture Sensors Catalog-NiuBoL.pdf
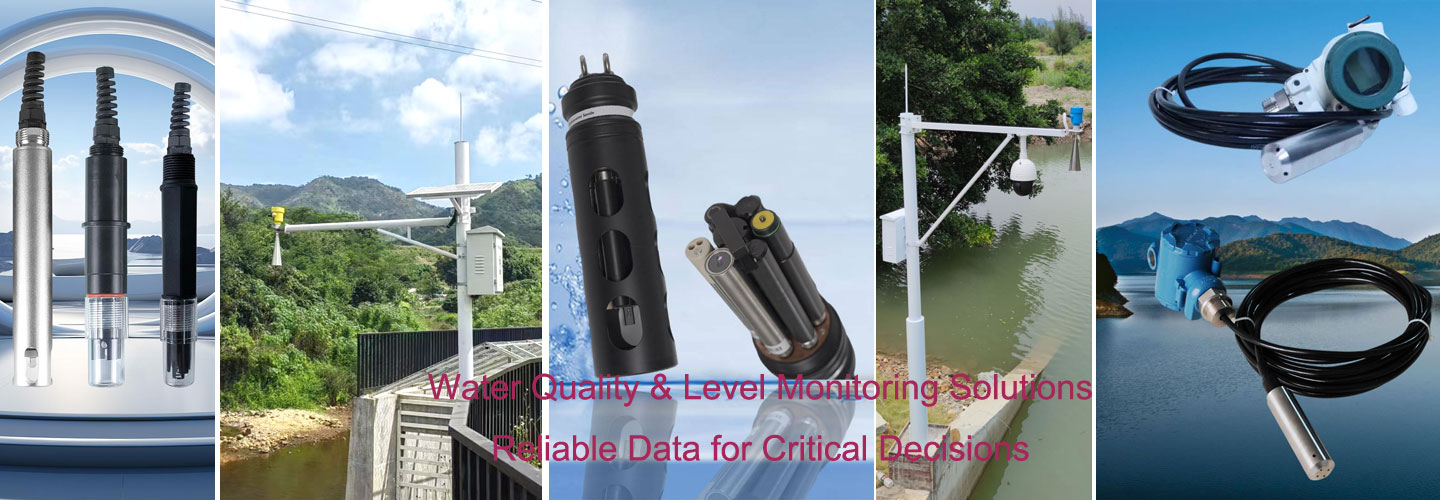
Water Quality Sensor Catalog-NiuBoL.pdf
Related products
 Combined air temperature and relative humidity sensor
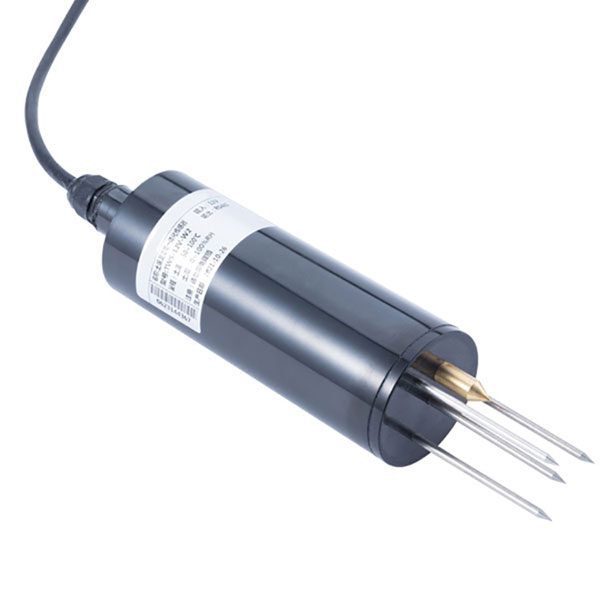 Soil Moisture Temperature sensor for irrigation|NBL-S-THR
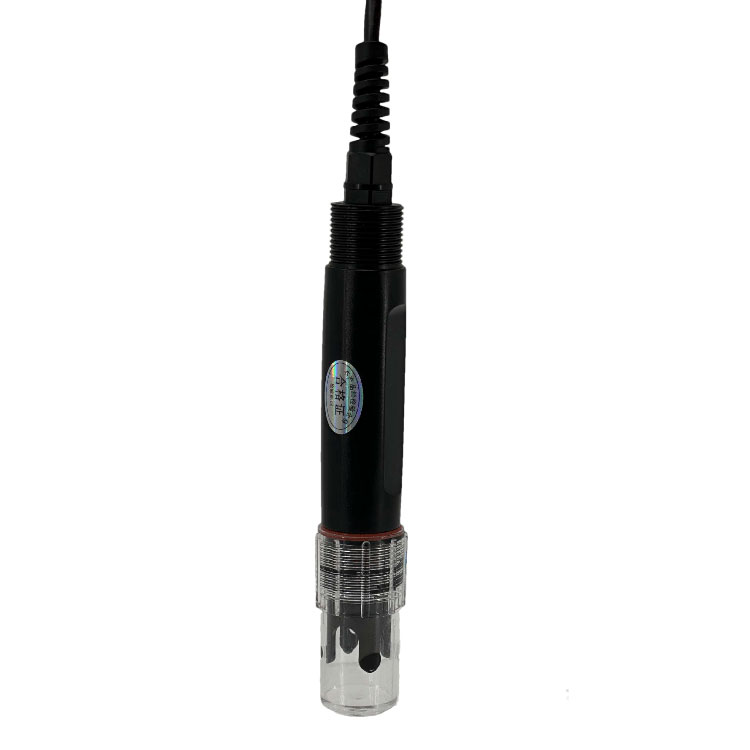 Soil pH sensor RS485 soil Testing instrument soil ph meter for agriculture |NBL-S-PH
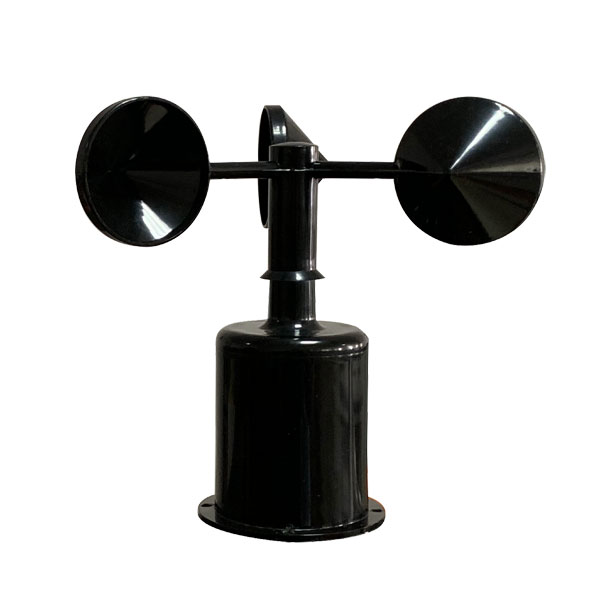 Wind Speed sensor Output Modbus/RS485/Analog/0-5V/4-20mA
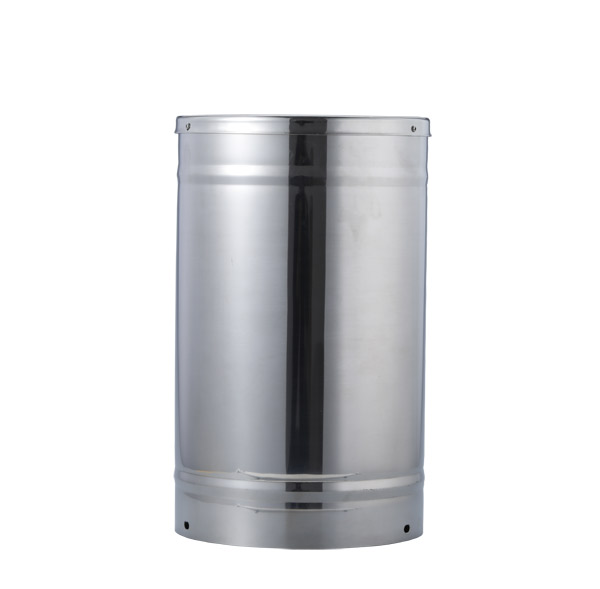 Tipping bucket rain gauge for weather monitoring auto rainfall sensor RS485/Outdoor/stainless steel
 Pyranometer Solar Radiation Sensor 4-20mA/RS485

Screenshot, WhatsApp to identify the QR code
WhatsApp number:+8615367865107
(Click on WhatsApp to copy and add friends)
