


— Blogs —
—Products—
 Consumer hotline +8618073152920
WhatsApp:+8615367865107
Address:Room 102, District D, Houhu Industrial Park, Yuelu District, Changsha City, Hunan Province, China
Product knowledge
Time:2026-09-19 13:00:00 Popularity:208
Turbidity sensor calibration and cleaning are different operations. Cleaning removes contamination from the optical path; verification checks the response against a suitable reference; calibration changes the measurement relationship. When readings drift, record the as-found condition, clean the sensor, and verify it before changing calibration. Adjusting a dirty probe can conceal fouling and leave the instrument biased after its next cleaning.
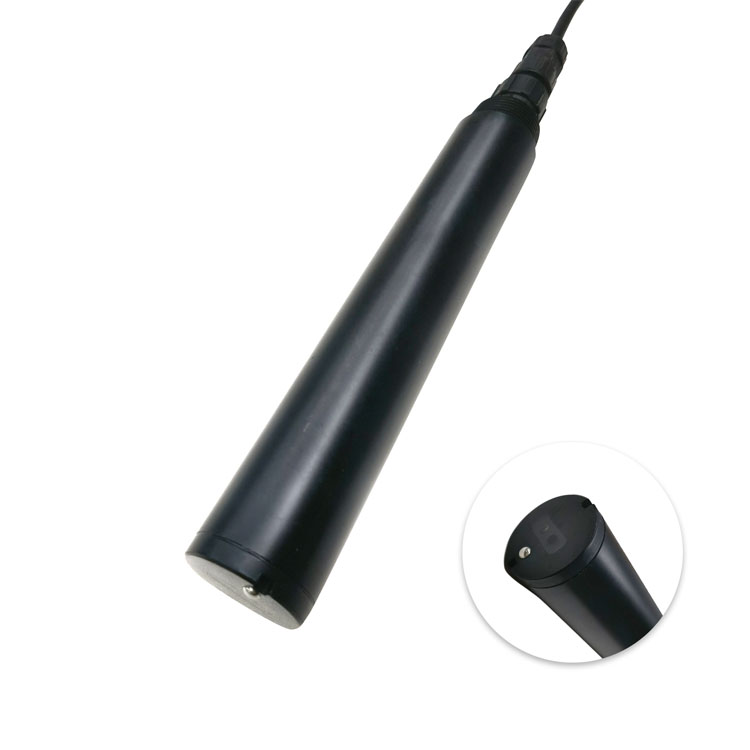
An online turbidity trend can rise because the water contains more suspended particles, because deposits have formed on the optical window, or because bubbles and installation conditions have changed. These possibilities lead to different actions. Recalibration is appropriate only after the measurement setup and reference check justify it; it is not a general remedy for an unexpected process value.
Before removing the probe, note the current reading, sample flow or immersion condition, visible deposits and any recent operating change. Where practical, take a representative comparison sample at the same point and time. A sample from another tank, or one measured after particles have settled, cannot resolve whether the installed sensor was wrong.
A maintenance record should explain what a normal reading looks like after cleaning and what evidence justifies recalibration or replacement. Keep the result before service as well as the result afterward. Otherwise, a repeated need to remove deposits can disappear from the history, and the site may continue using an unsuitable cleaning interval.
| Operation | What it establishes | What it does not establish |
|---|---|---|
| Cleaning | The window and accessible wetted surfaces have been serviced | That the calibration remains correct or the process water is unchanged |
| Verification | Response to a defined reference under controlled conditions | That every sample location, flow condition or water matrix is represented |
| Calibration | An adjusted relationship between reference values and sensor response | That bubbles, deposits, damaged optics or incorrect mounting have been corrected |
| Return-to-process check | The reinstalled channel is stable and agrees with its receiving system | That a single comparison proves performance across the entire operating range |
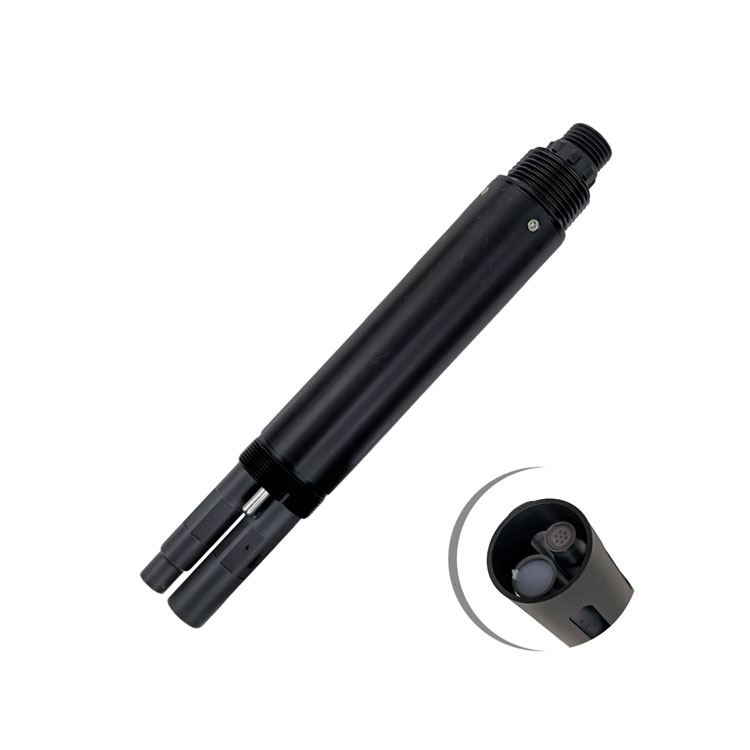
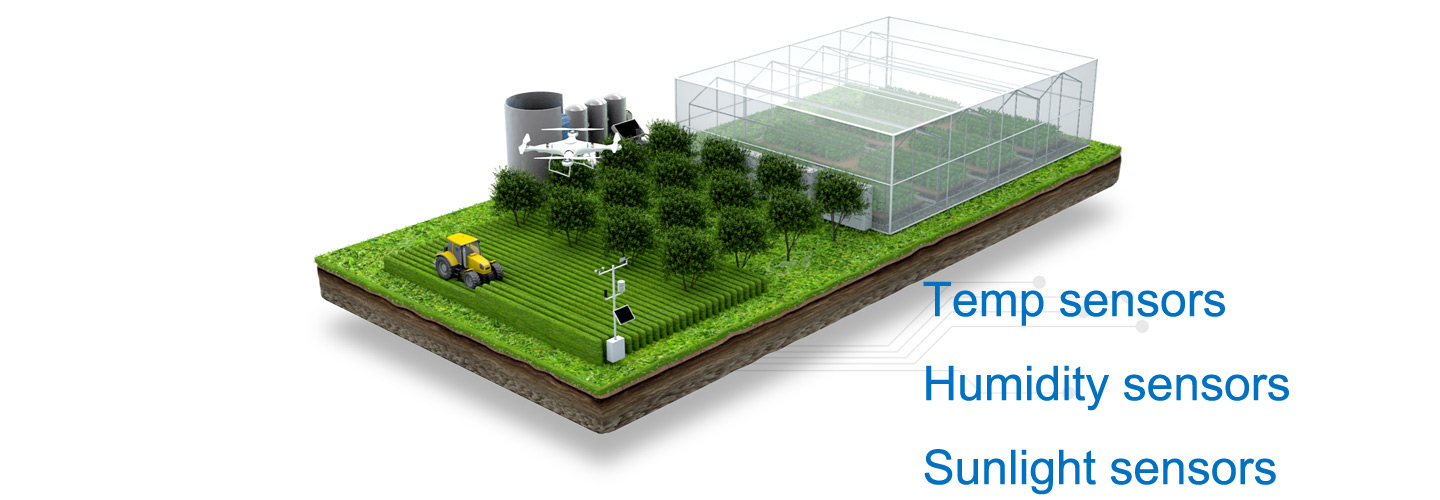
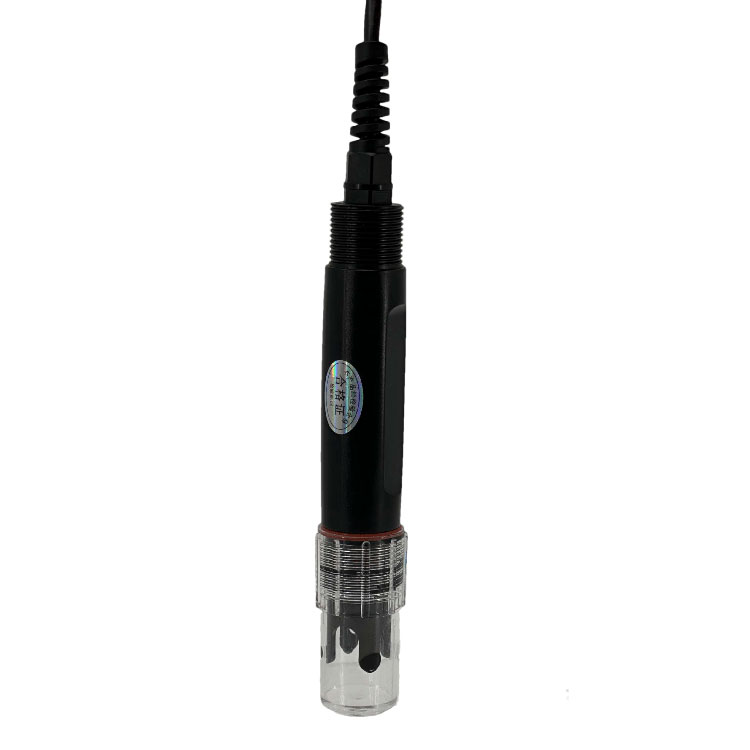
The illustrated ammonium electrode has a sensing membrane rather than a turbidity window. Keep its conditioning, calibration liquids and cleaning tools separate. An optical-window cleaning procedure must not be applied to an ion-selective membrane merely because both instruments are serviced at the same station.
If cleaning restores the expected reference response, the immediate problem was not necessarily calibration drift. The next improvement may be a shorter cleaning interval or a different location. If cleaning does not restore the response, repeat the check with a sound reference and controlled geometry before deciding that the optics or electronics need repair.
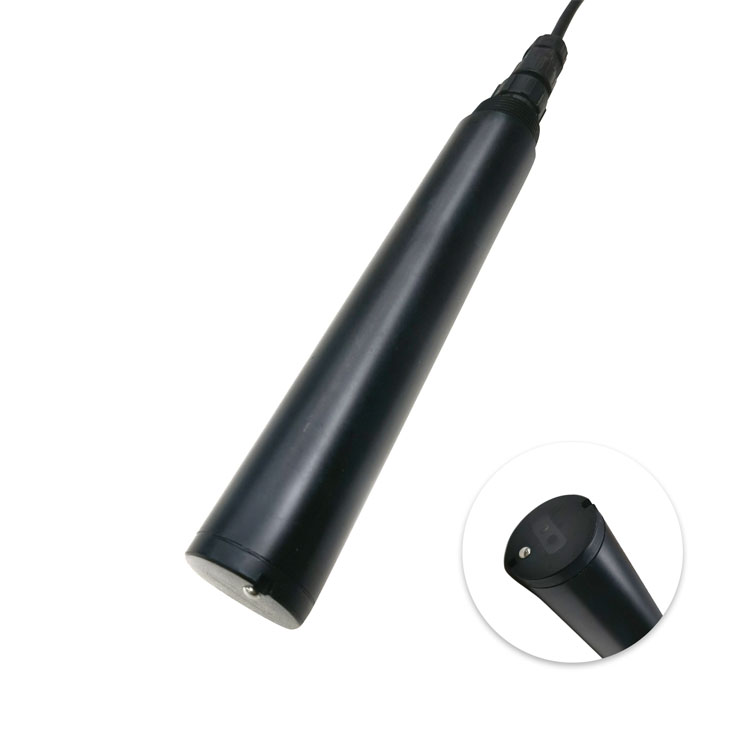
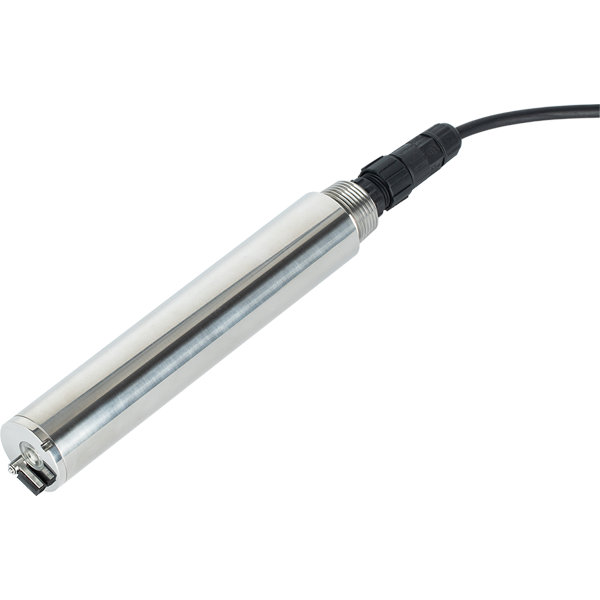
The NBL-WQ-TS immersion probe and NBL-WQ-TS-408-S share an infrared scattered-light measurement approach, but their range options and cleaning hardware are not identical. Keep the model and ordered range on the service worksheet. A calibration setting or physical cleaning instruction taken from a different version can create an error even when the connector fits.
| Service-related specification | NBL-WQ-TS | NBL-WQ-TS-408-S |
|---|---|---|
| Range options | 0-20.00, 0-100.0, 0-1000.0 NTU | 0-20.00, 0-200.0, 0-1000.0, 0-4000.0 NTU |
| Resolution | 0.01 NTU on 20 NTU range; 0.1 NTU on the others | 0.01 NTU on 20 NTU range; 0.1 NTU on the others |
| 20 NTU range accuracy | +/-3% or +/-1.5 NTU; agree the percentage basis and error rule | +/-3% of reading or +/-1.5 NTU, whichever is greater |
| Optical cleaning hardware | Do not assume an automatic brush is included | Equipped with a cleaning brush; inspect its condition and movement |
| Power and output | 12-24 VDC; less than 0.3 W at 12 V; RS485 Modbus RTU | 12-24 VDC; stated consumption 0.2 W at 12 V; RS485 Modbus RTU, optional 4-20 mA |
| Construction and installation | POM/ABS; immersion, 3/4 NPT; 5 m standard cable | ABS/316L; immersion, 3/4 NPT; 5 m standard cable |
| Protection and pressure | IP68; below 0.2 MPa | IP68; below 0.2 MPa |
| Working temperature | 0-50 C | 0-60 C |
A cleaning brush does not verify calibration. Inspect for worn contact surfaces, trapped grit and an incomplete sweep; an operating motor alone does not prove the window is clean. For power-system design, obtain the cleaning-cycle demand as well as the sensor's stated consumption. Do not assume the steady measurement figure covers every moving accessory.
Use a soft, damp cloth for routine external cleaning and handle the optical face gently. Remove loose deposits without abrasive pads or sharp tools. Where mineral scale or biological growth requires a chemical treatment, establish compatibility with the window, seals and housing before using it. A general-purpose plant cleaner is not automatically suitable for an optical sensor.
Do not open the sealed sensor body as part of routine cleaning. Inspect the outside for cracking, water entry symptoms or cable damage and refer those faults for repair. A scratched window can create persistent optical interference that repeated calibration will not reliably remove. Keep the probe protected while it is out of the water; resting the sensing face on a workbench defeats careful cleaning.
For a flow-through assembly, inspect the sample line and cell as well as the detector. A clean detector receiving stale or aerated water still produces an unsuitable process measurement. Do not immerse a complete IP65 wall-mounted unit using a procedure intended for an IP68 immersion probe. Access, filling and drainage must follow the assembly's own design.
Use turbidity reference materials appropriate to the optical instrument and required range, with an assigned value and usable storage history. Turbidity standards are not pH buffers. Clear-looking water is not automatically a verified zero, and adding a nominal dilution does not guarantee a valid low-level standard when contamination or handling dominates the result.
For the TS and TS-408-S immersion checks, leave more than 5 cm to the vessel sidewall and more than 10 cm to the bottom at the sensing area. A small cup can reflect light into the measurement and make a functioning probe appear out of calibration. Keep the window clear of bubbles and use a stable position that can be reproduced during subsequent checks.
Allow the reference and reading to stabilize. The immersion procedure provides a 3-5 minute settling period before adjustment, but elapsed time alone is not a pass condition. If the signal is still changing, identify why. Gently prepare the standard according to its instructions; aggressive shaking can introduce bubbles, while poor suspension can change the concentration seen at the window.
Choose reference values that test the interval used for decisions. A satisfactory high-level check does not by itself establish low-level accuracy. If the firmware uses separate zero and slope operations, confirm the assigned reference values for that range before writing calibration commands. Register names do not justify substituting an arbitrary reference or copying commands between models.
During initial operation, inspect often enough to discover the fouling pattern before it compromises the intended decision. Compare the as-found and cleaned response at successive visits. If a noticeable change consistently appears before the planned visit, shorten the interval or investigate the installation. If results remain stable, extend intervals cautiously while retaining periodic verification.
Seasonal algae, altered coagulant conditions and a change of sample source can invalidate a previously satisfactory interval. A fixed calendar alone will not detect that transition. For an unattended station, consider service access and travel time when choosing cleaning hardware; automatic cleaning may reduce visits, but it does not eliminate inspection or reference materials.
At the PLC or data logger, distinguish a maintenance hold from a healthy live value. Preserve the last reading if the operating strategy requires it, but attach an explicit quality indication and time. After service, compare the value at the probe interface with the value stored by the host. Calibration cannot correct a Modbus scaling error in the receiving system.
No. Clean first and check the response. Recalibrate when a valid verification fails or the required procedure calls for it. Repeated unnecessary adjustment can hide a fouling problem and introduce changes caused by reference handling rather than the sensor.
It can support investigation if its method, calibration status and sampling conditions are suitable. A disagreement between two instruments is not enough to identify which one needs adjustment. Use appropriate reference materials and compare the same representative sample before changing the installed probe.
Check wall and bottom clearance, bubbles, settling and the change in sample conditions. The beaker may have changed the optical environment. Do not recalibrate until the test arrangement meets the probe's geometry requirements and the reference remains representative.
No. It can address deposits within its operating capability, but the brush can wear or collect debris. Verify actual cleaning performance and inspect the optical surface. Calibration checks, cable inspection and reference control remain separate tasks.
Send the model and range, as-found and cleaned readings, reference value and batch, mounting photographs, observed deposits and recent process changes. These details help distinguish fouling, setup error and sensor faults before a replacement is ordered.
Identify compatible reference materials, replacement cleaning parts where fitted, service access and any required controller tools. Ask NiuBoL to match these items to the exact probe version; a generic annual service allowance does not define the consumables or site work.
Effective turbidity sensor calibration starts with a clean optical path and a defensible reference check. Preserve the as-found result, control the test geometry and adjust only when the evidence supports it. A service routine built around observed fouling and reproducible verification is more useful than repeatedly forcing the reading to match an unexplained comparison value.
Prev:Online Turbidity Sensor Selection for Drinking Water and Filter Monitoring
Next:TSS and MLSS Sensors for Sludge Process Control in Wastewater Plants
Related recommendations
Sensors & Weather Stations Catalog
 Agriculture Sensors and Weather Stations Catalog-NiuBoL.pdf
Weather Stations Catalog-NiuBoL.pdf
Agriculture Sensors Catalog-NiuBoL.pdf
Water Quality Sensor Catalog-NiuBoL.pdf
Related products
 Combined air temperature and relative humidity sensor
 TDR Soil Moisture & Temperature Sensor for irrigation| RS485 |4-20mA| NBL-S-THR
 Soil pH sensor RS485 soil Testing instrument soil ph meter for agriculture |NBL-S-PH
 Wind Speed sensor Output Modbus/RS485/Analog/0-5V/4-20mA
 Tipping bucket rain gauge for weather monitoring auto rainfall sensor RS485/Outdoor/stainless steel
 Pyranometer Solar Radiation Sensor 4-20mA/RS485

Screenshot, WhatsApp to identify the QR code
WhatsApp number:+8615367865107
(Click on WhatsApp to copy and add friends)